I imagine most of you crafty, quilty people out there have a natural sense of color — what you like and don’t like, what colors work together, etc. — so you may dismiss any sort of deep dive into color theory, preferring to stick with your intuitive sense of color rather than thinking too much about it. I totally get that! And I don’t necessarily disagree. Trusting your own color sense is very important as an artist. But I also believe that knowledge is power, and having even a little bit of knowledge can elevate your color game.
Before I go any further, I have a big ol’ disclaimer. I am by no means a color theory expert. I have sat in on a couple different color theory classes, though never as an actual student. This post is just brushing the surface, so if you are fascinated by the topic or you want to really up your color game I strongly urge you to check out some of the resources I’ll list at the end of the post.
Something to keep in mind is that color is science. Every color is a specific frequency of light that we can see because of the rods and cones in our eyes. And while most of us do not need to spend years studying the science of light and color theory in order to create visually stunning pieces of art, having a basic understanding of how colors actual work together can help you in those moments when something is just not coming together and you can’t intuitively figure it out.
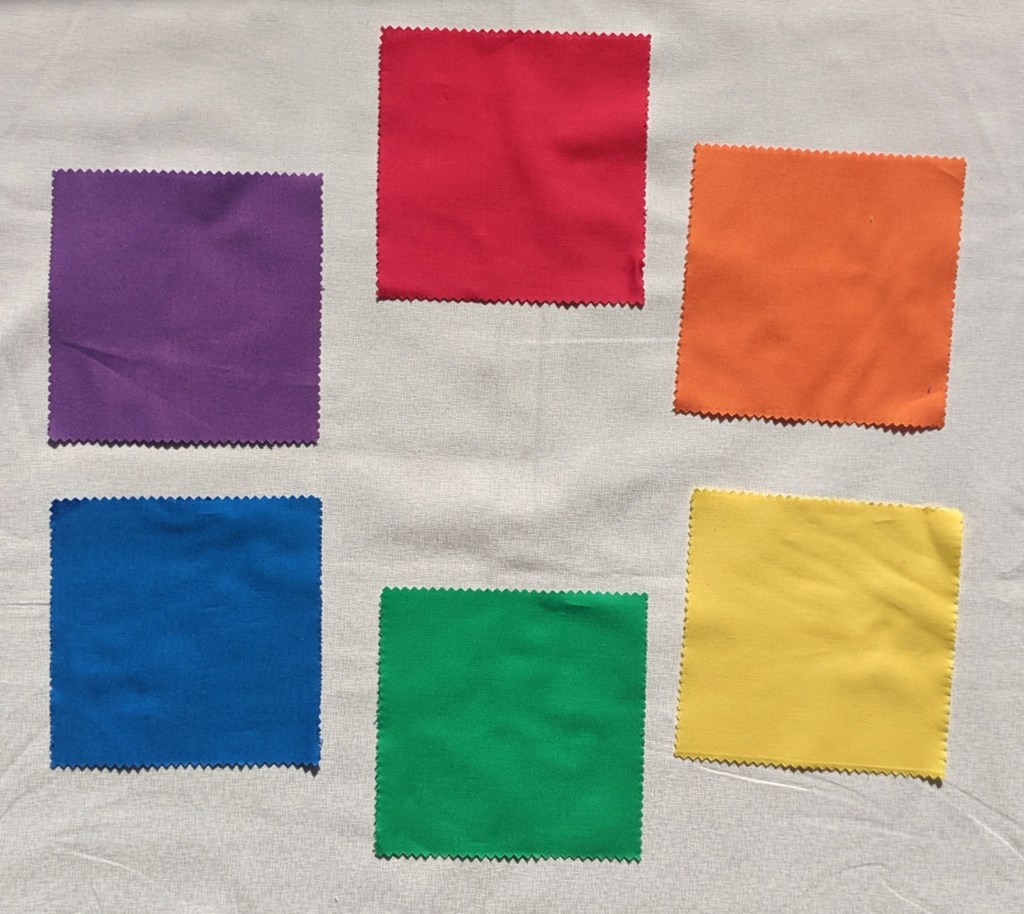
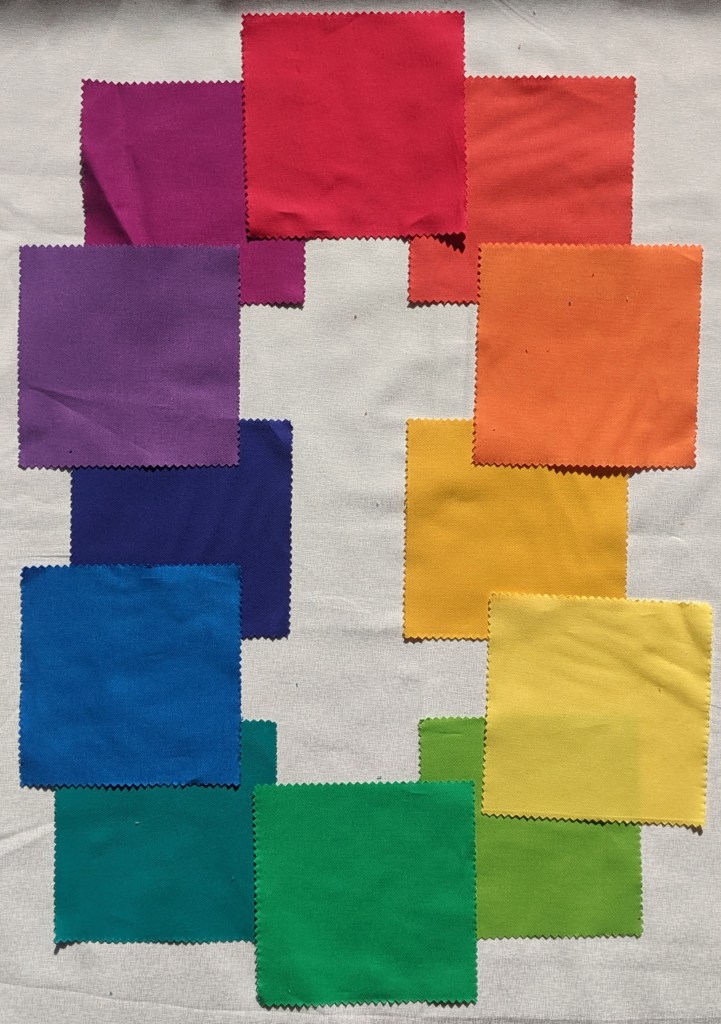
Most of us learned about the primary, secondary, and tertiary colors in grade school. You start with pure red, yellow, and blue. Those are your primaries.
When you mix red and yellow, you get orange. Yellow and blue give you green. Blue and red = violet. Those are your secondaries.
Then your tertiary colors are red-orange, yellow-orange, yellow-green, blue-green, blue-violet, and red-violet. All of these colors can be beautifully organized in a color wheel to show their relationship to each other.
As a heads up, many color theory classes these days work with a different set of primaries, secondaries, and tertiaries based on printer colors. I am not going to go into any detail, but I just wanted to mention it in case you encounter it elsewhere. So if someone tells you that the primary colors are magenta, cyan, and yellow, they are not selling you a line of BS. They’re just working with a different color wheel.
When I’m thinking about color and a quilt design, I generally think about figure, background, and contrast. What do I want to stand out in my quilt? What do I want to blend in? Do I want any transparency effects? These questions are often better answered when you have a grasp on color theory versus just relying on your intuition.
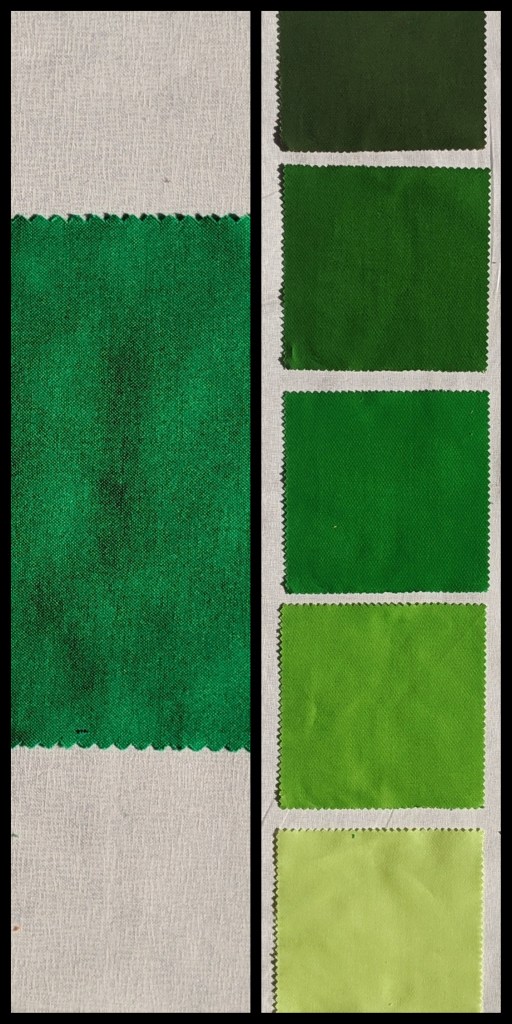
In order to understand how color can help define a figure from a background, let’s start with some basic color vocabulary. To get a grasp on these definitions, I’m going to use one color. Let’s go with green. Hue is the name of a color. Green is a hue.
Saturation is the intensity, or purity, of a hue. Adding gray to a hue will lessen the saturation, making it look duller.
Value is how light or dark a hue is. Adding white to a hue gives it a lighter tint. Adding black to a hue gives it a darker shade.
Looking at a color wheel can quickly help you see the relationships colors have to each other. The colors that are opposite each other on the wheel are complementary. Red and green, blue and orange, violet and yellow. Complementary colors provide striking visual contrast. And depending on the saturation you use, it can even make your eyes do some funky things and create visual effects.
Analogous colors are next to each other on the color wheel. They blend together very easily which is often soothing to the eye.
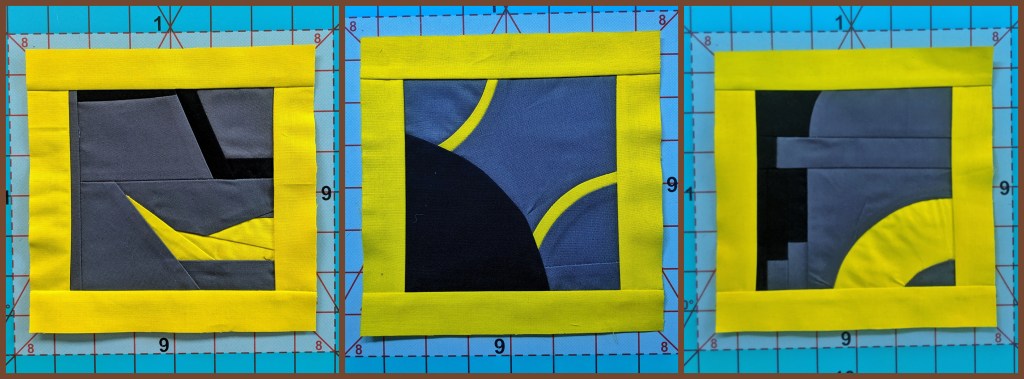
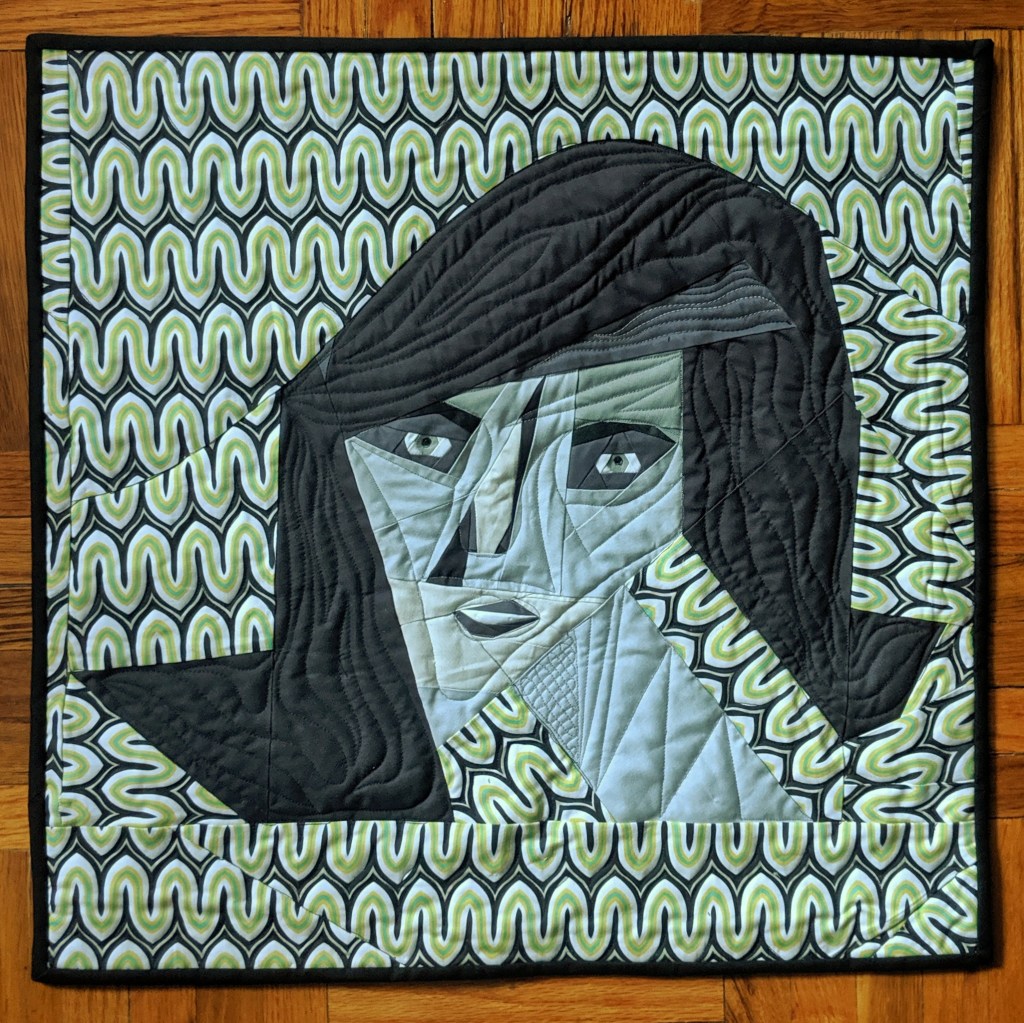
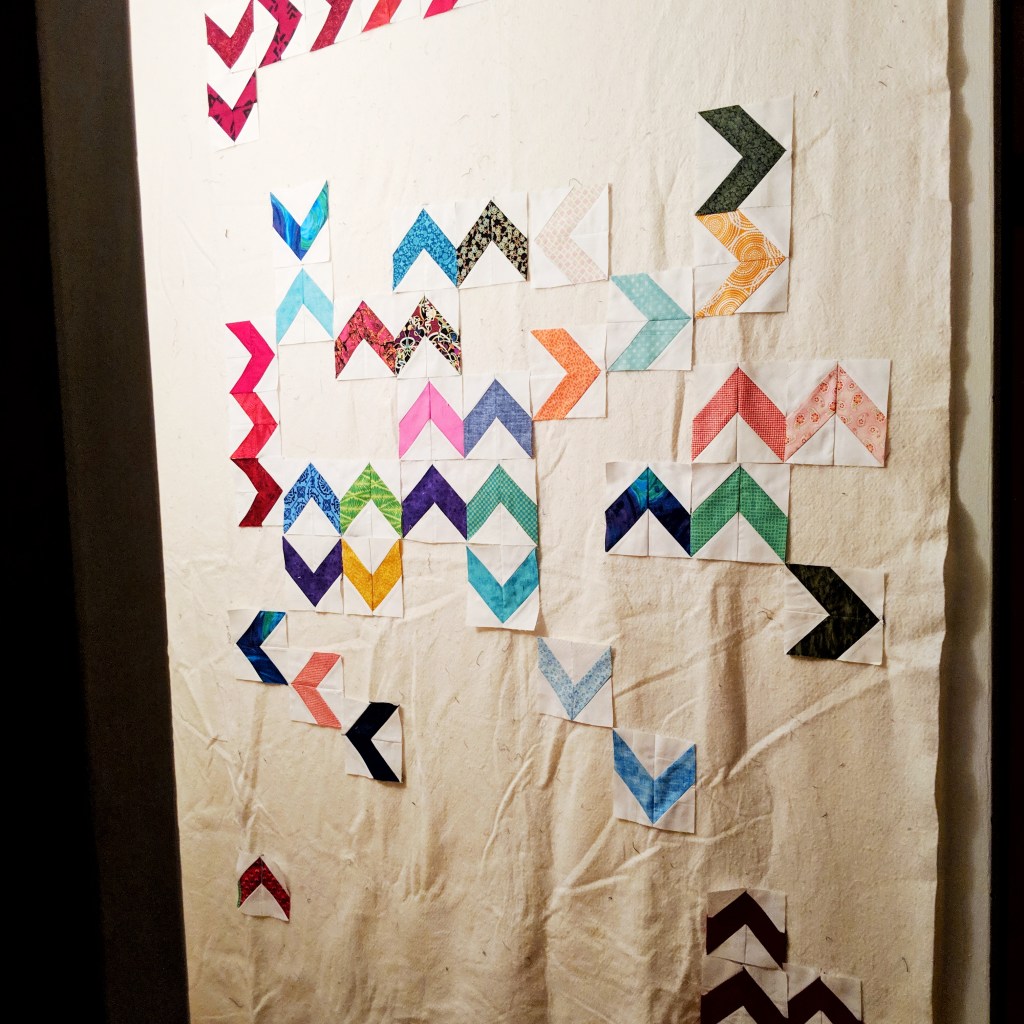
When I’m thinking about a quilt design, I think about what I want to stand out, which I call the figure. The “figure” could be an actual object, but it could also be just the main design motif that I want to emphasize in the overall quilt. Most everything else is the background.
Here’s something you have possibly never really thought about. If you want to create depth in your design and you’re using a dark background color, warm colors — red, orange, yellow — will appear closer, and cool colors — violet, blue, green — will appear farther. However, if you’re working with lighter backgrounds, the opposite is true. Isn’t that fascinating? This is one of those examples where knowing the science can be helpful because you wouldn’t necessarily know this intuitively.
Sometimes I see people struggle with losing their overall quilt design because they smashed together all of their favorite colors rather than selecting colors that provide enough contrast to create figure and background. When you’re looking at your quilt design, decide what part of the design you want to stand out. Use your favorite colors for that part. Then use a neutral for the rest, and that will be the background of the design. Your “neutral” can even be a color, but make sure it is very different in saturation and/or a significantly different tint or shade from the main colors of your design.
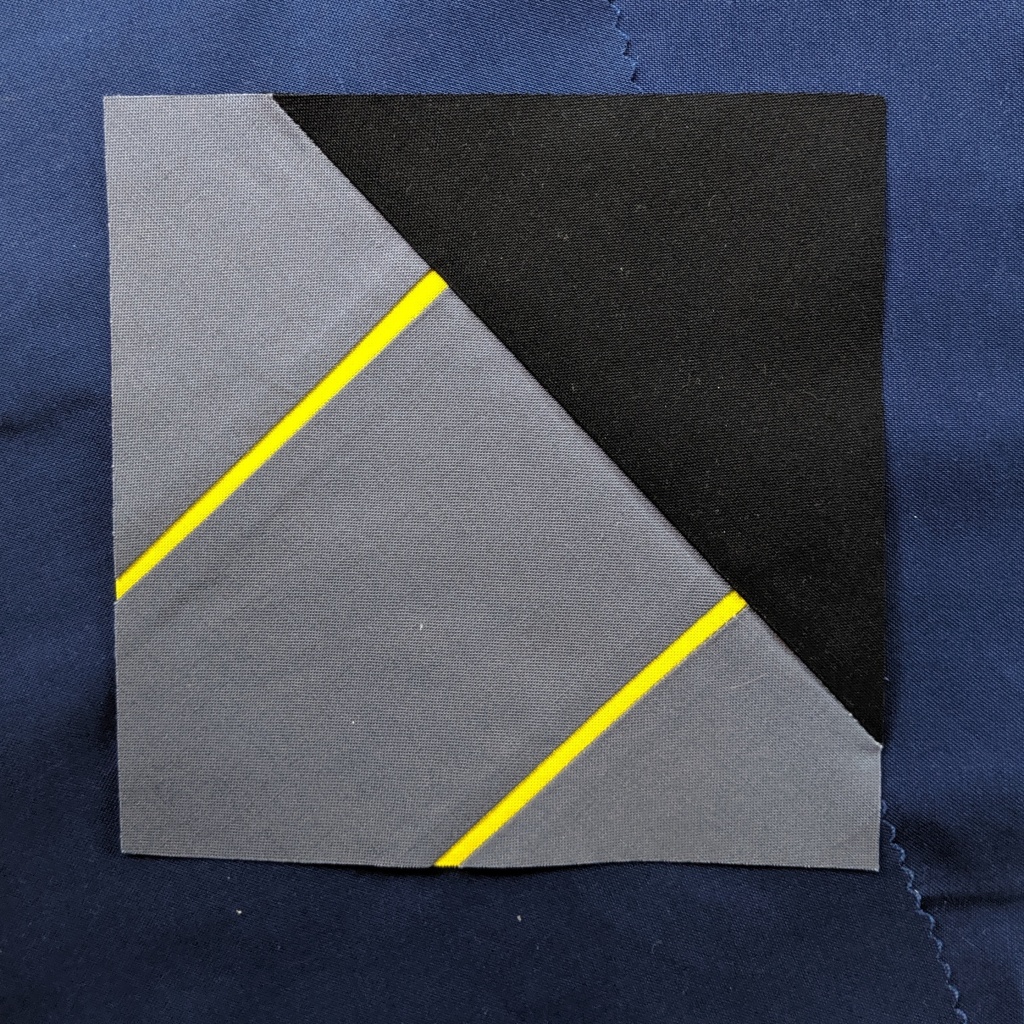
If you’re still struggling with your figure disappearing into your background, take a photo of your quilt design with your chosen colors with your phone. Then use one of your photo editing apps to turn into a black-and-white picture. Now you can really see the saturation level of each color by seeing them in the grayscale.
If all of your colors are close to or have the same level of gray in your picture, you might want to pick some different tints or shades of certain colors so that the main part of your design will stand out.
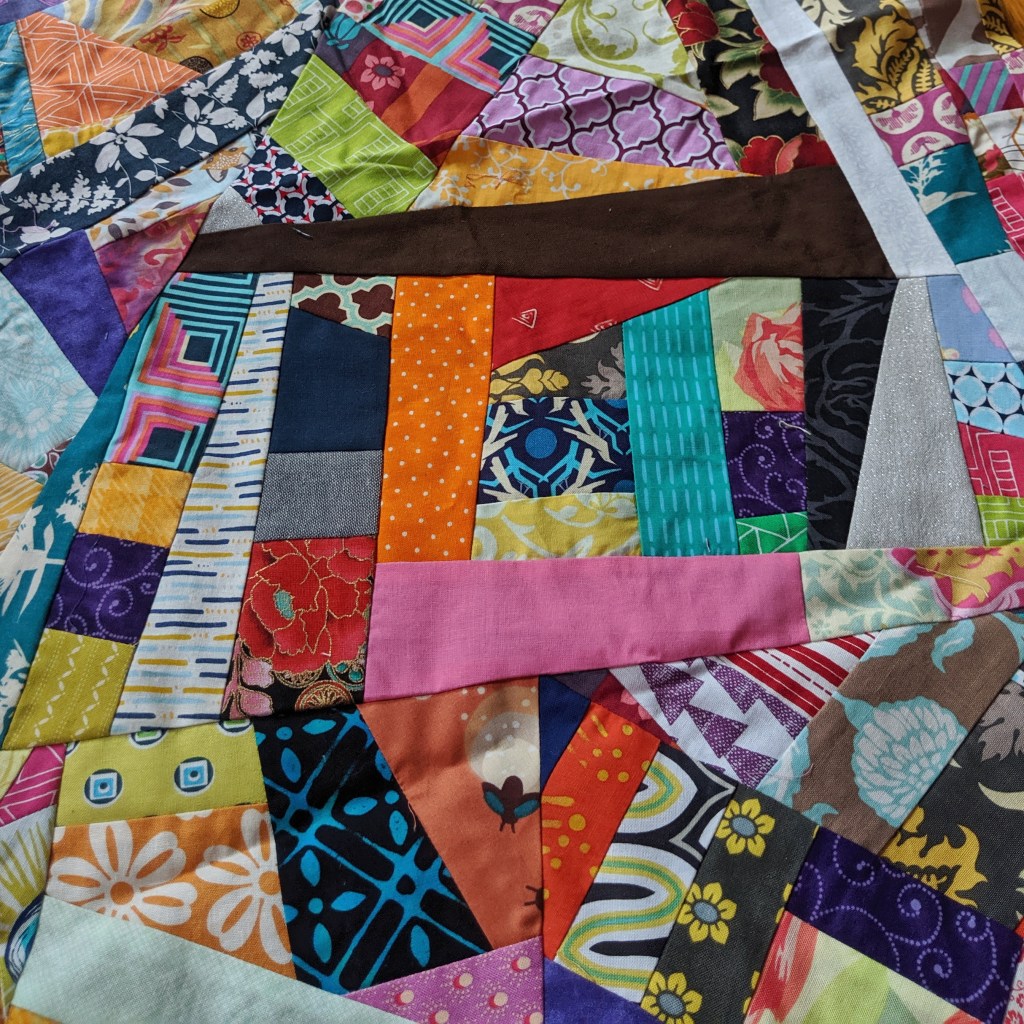
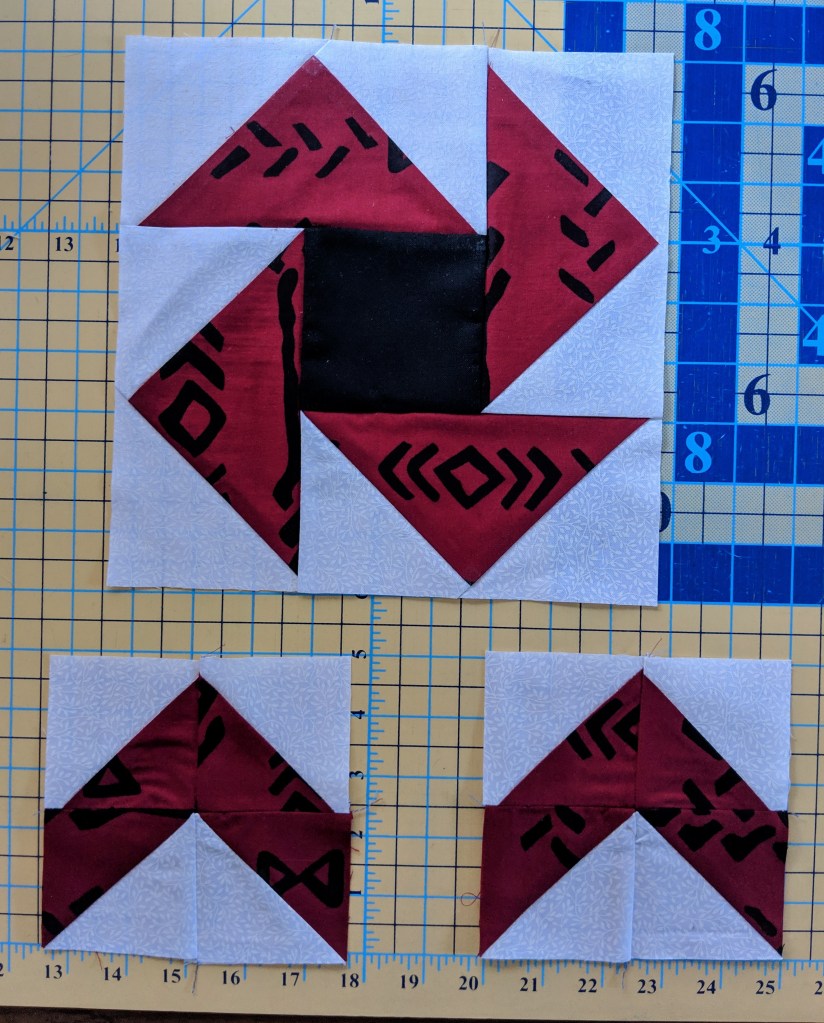
And stepping away from color just a bit, what I just said above can apply to print patterns as well. I love me some scrappy quilts, but make sure you’re creating contrast with high-volume prints and low-volume prints so that your overall design doesn’t disappear due to lack of contrast among all of the different prints you’ve chosen.
I think I’m going to stop now because, honestly, my knowledge only goes so far. However, I want to give you some great resources if you decide you want to really dive into the details of color theory. My first suggestion is find a local color theory class offered by a college or university or local artisan. Not only will you get firsthand knowledge from experts in their field, but you’ll also work on projects that will really cement the lessons. If that’s not possible for you, there are plenty of tutorials online. One of those tutorials is “Color Theory for Quilters” with Katie Pasquini Masopust for iQuilt.com. It is not free, but it is specifically geared for quilters so it’s worth a look. I also really like the website worqx.com. It goes through many aspects of color theory in a relatively simple manner. There are also some fun games you can download to your phone like I Love Hue and Blendoku. Either game is a fun way to get a better feel about how colors work together.
I would LOVE to hear from YOU about your own color theory journeys and ideas. We all see and think about color differently, and no one is ever wrong as long as they love what they’ve created. Please share your stories in the comment section below. Happy Quilting!!