If you’ve looked at most of my quilts on display here, you will have seen that I love free-motion quilting. I sincerely believe that the quilting design is just as important as the pieced and/or appliqued quilt top. While it does not need to be as ambitious as many of my quilt designs end up being, I would love to see all quilters stop and really think about how the overall quilting design can enhance the beautiful work they’ve created, whether they’re quilting it themselves or sending it to a professional longarmer.
I learned to free-motion quilt from taking a Craftsy.com class with Leah Day as well as watching tons of Angela Walters YouTube videos. They provided so much incredibly helpful information and inspiration, but over those first few years I found myself continuing to repeat quilting motifs and patterns I had picked up from them.

As I began creating my own quilt top designs, I realized I needed to start creating my own quilting designs as well, which I would do somewhat randomly, but I kept finding myself defaulting to the “oldies but goodies” that I had originally learned (so many swirls).

I was recently invited to join the Manhattan Quilters Guild which is such an honor. This small guild is made up of incredibly gifted quilt artists, and it has forced me to start rethinking my approach to quiltmaking. I’ve always had a bit of a loosey-goosey process, but if I really want to be taken seriously as an artist, I need to be more intentional from the beginning to the end of each quilt’s journey.
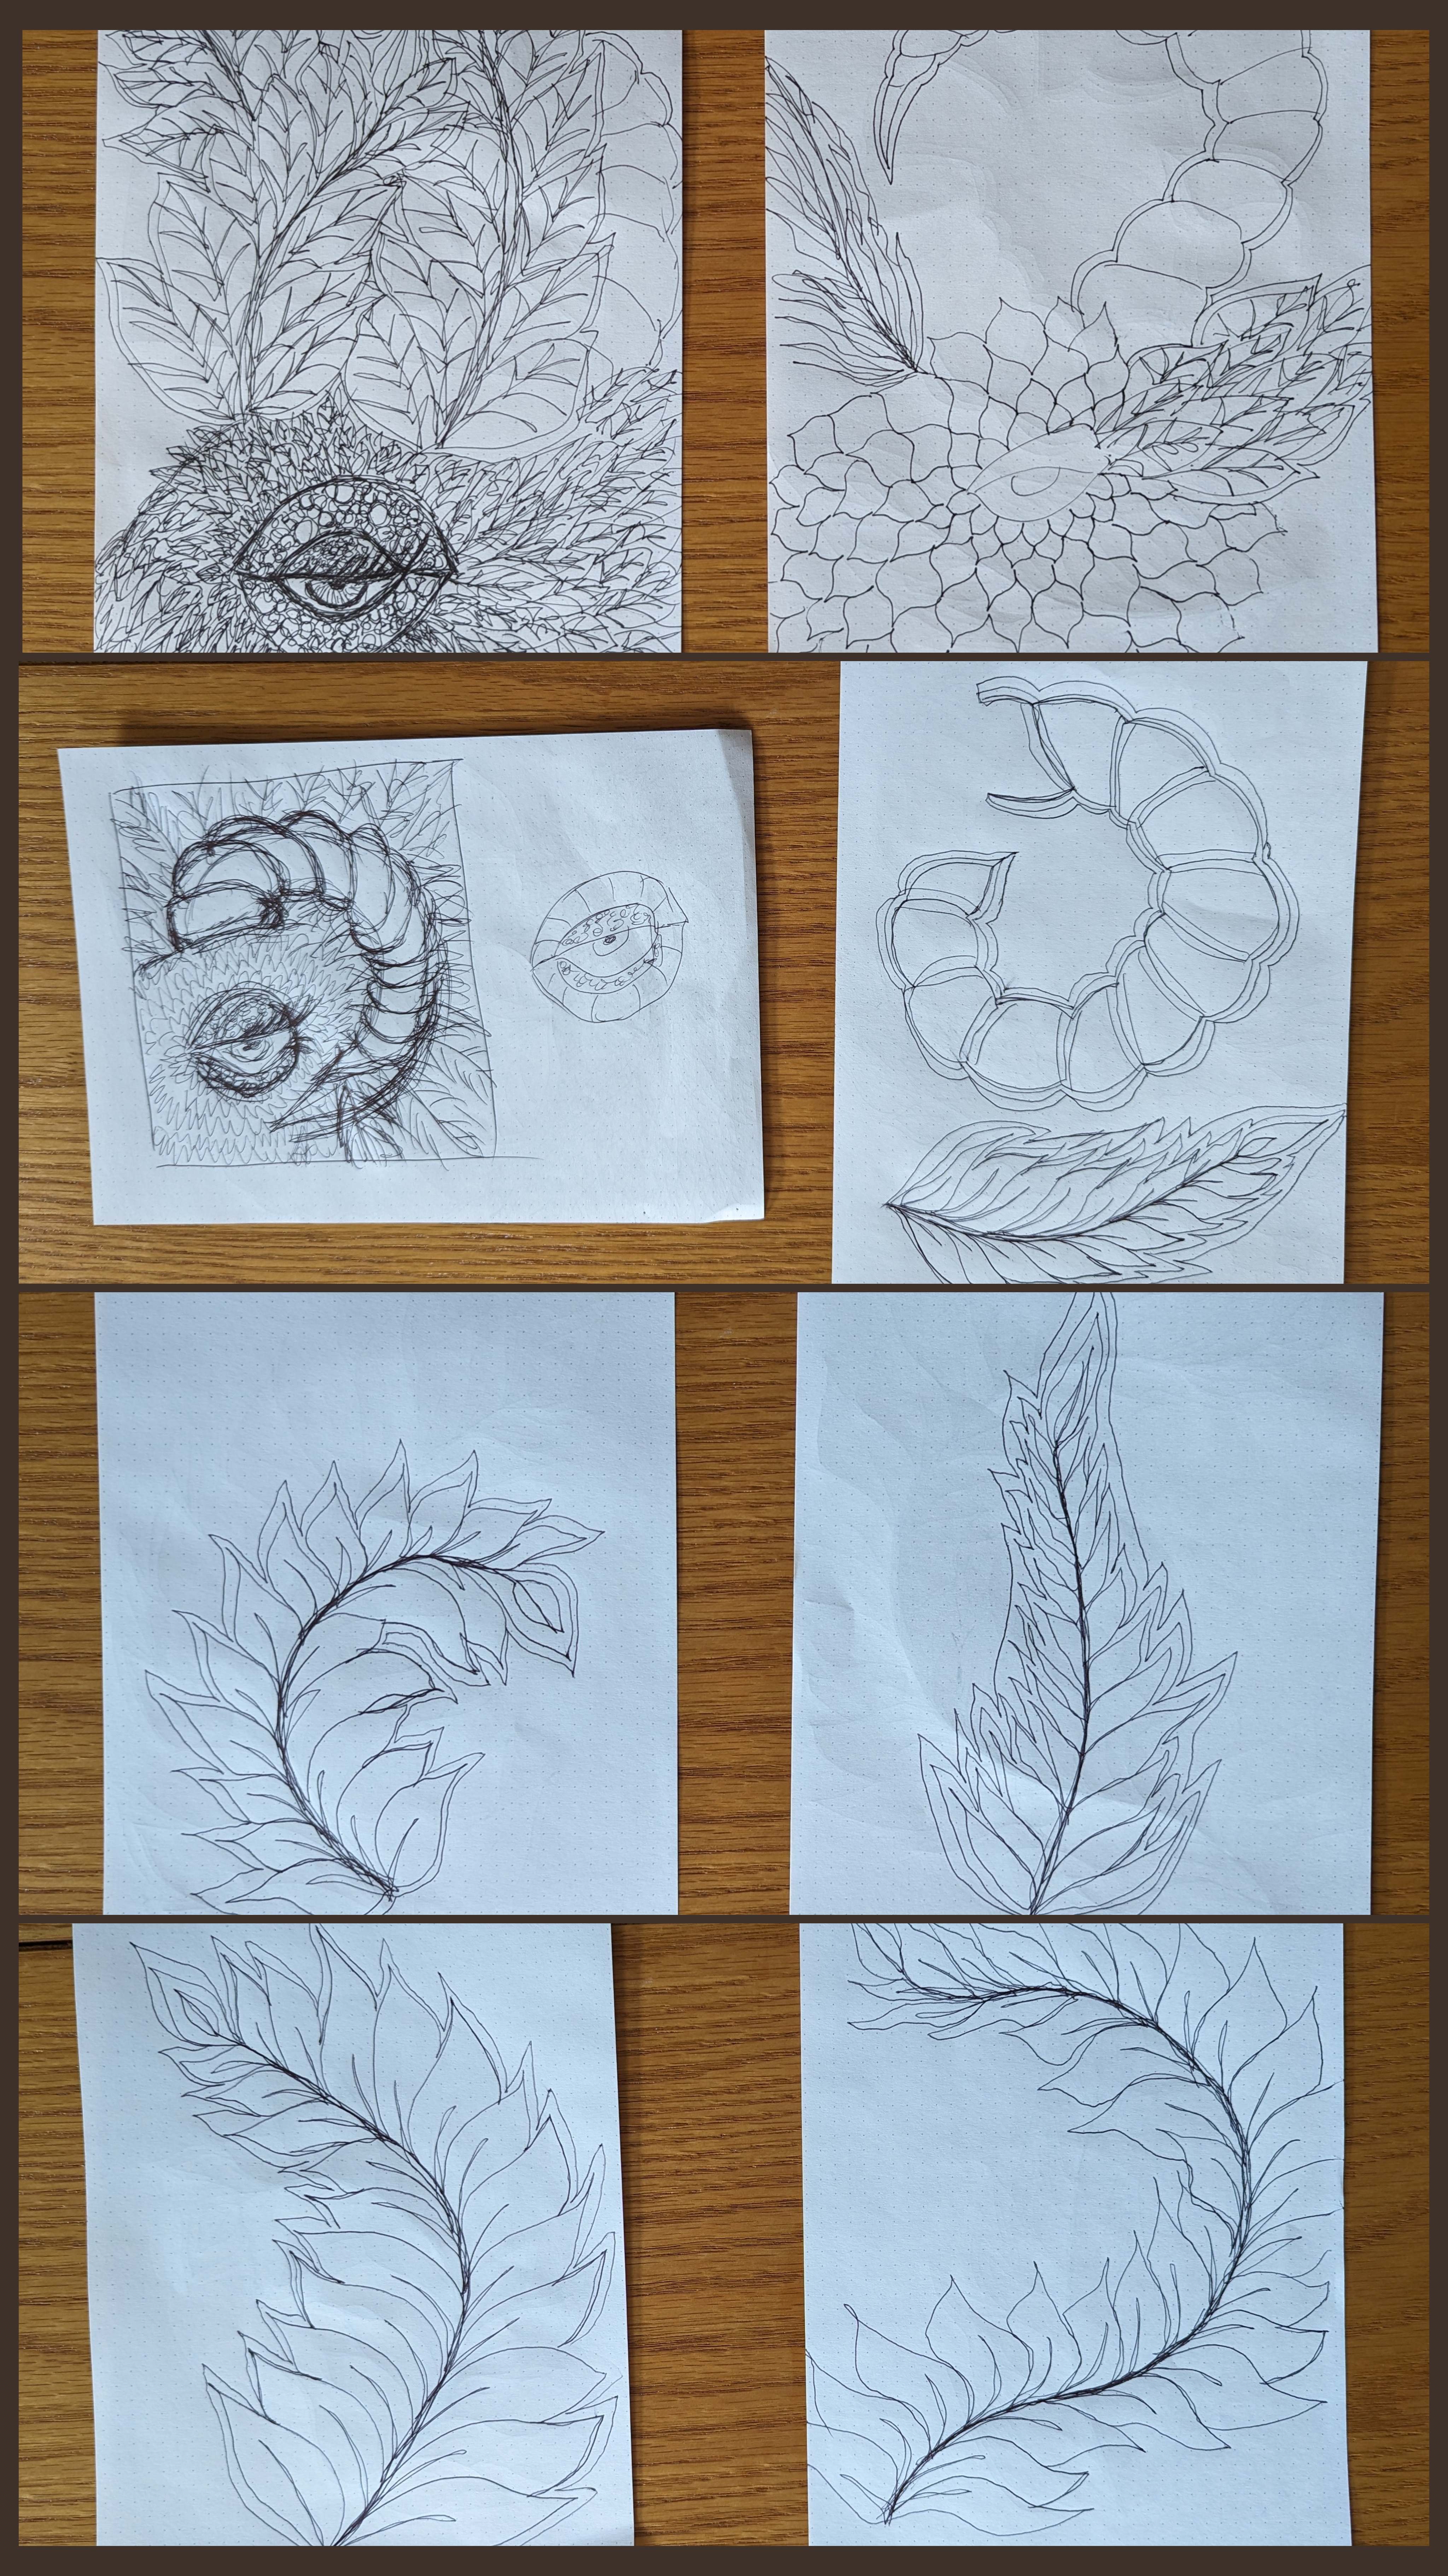
First step, sketch out ideas and just keep sketching. Work it out with paper and pen before actually sitting down at my sewing machine. (In the past, I would often just sit at my machine with a quilt sandwich under the needle as I stared and stared, trying to think of how I wanted to quilt each section.) When I’m sketching out ideas, I do it quickly and move on from each idea, reserving judgment until I’m finished with each session. The idea is not to come up with the perfect design on the first try but to just let my creative juices flow. Perfecting the idea can come later.

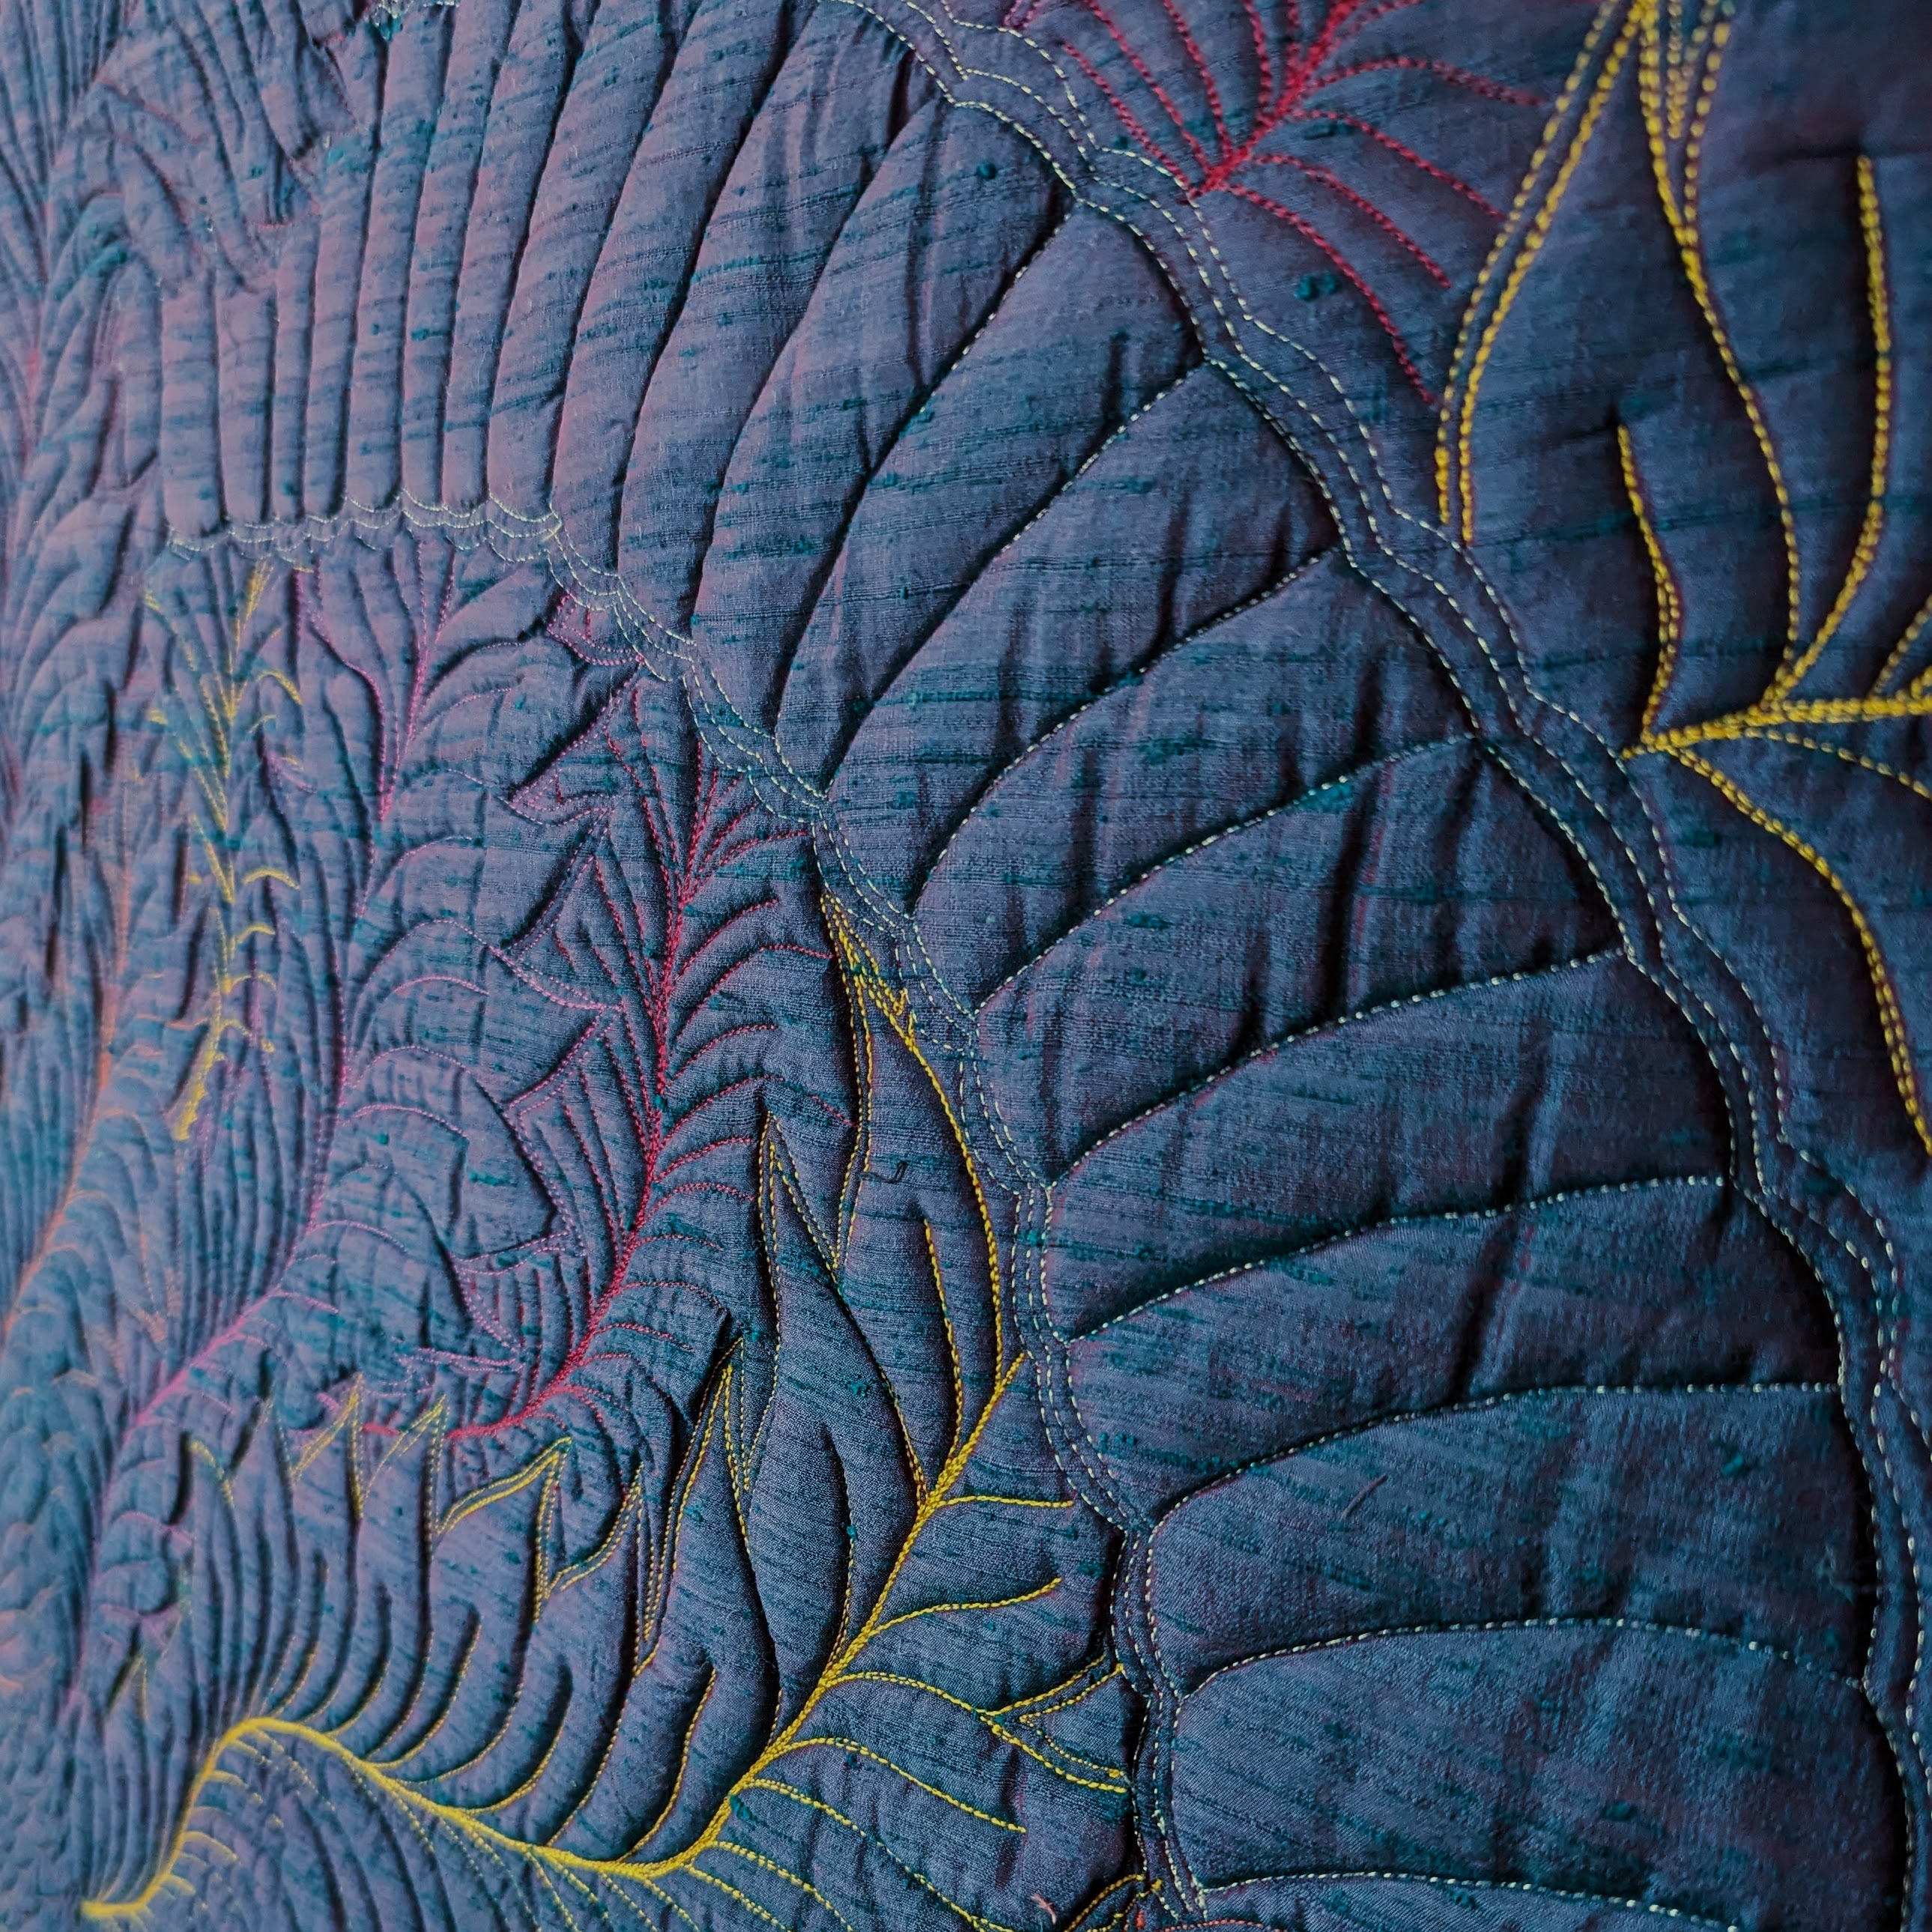
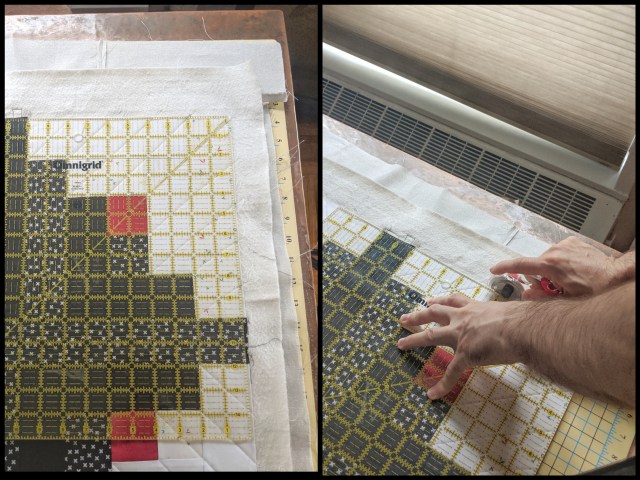
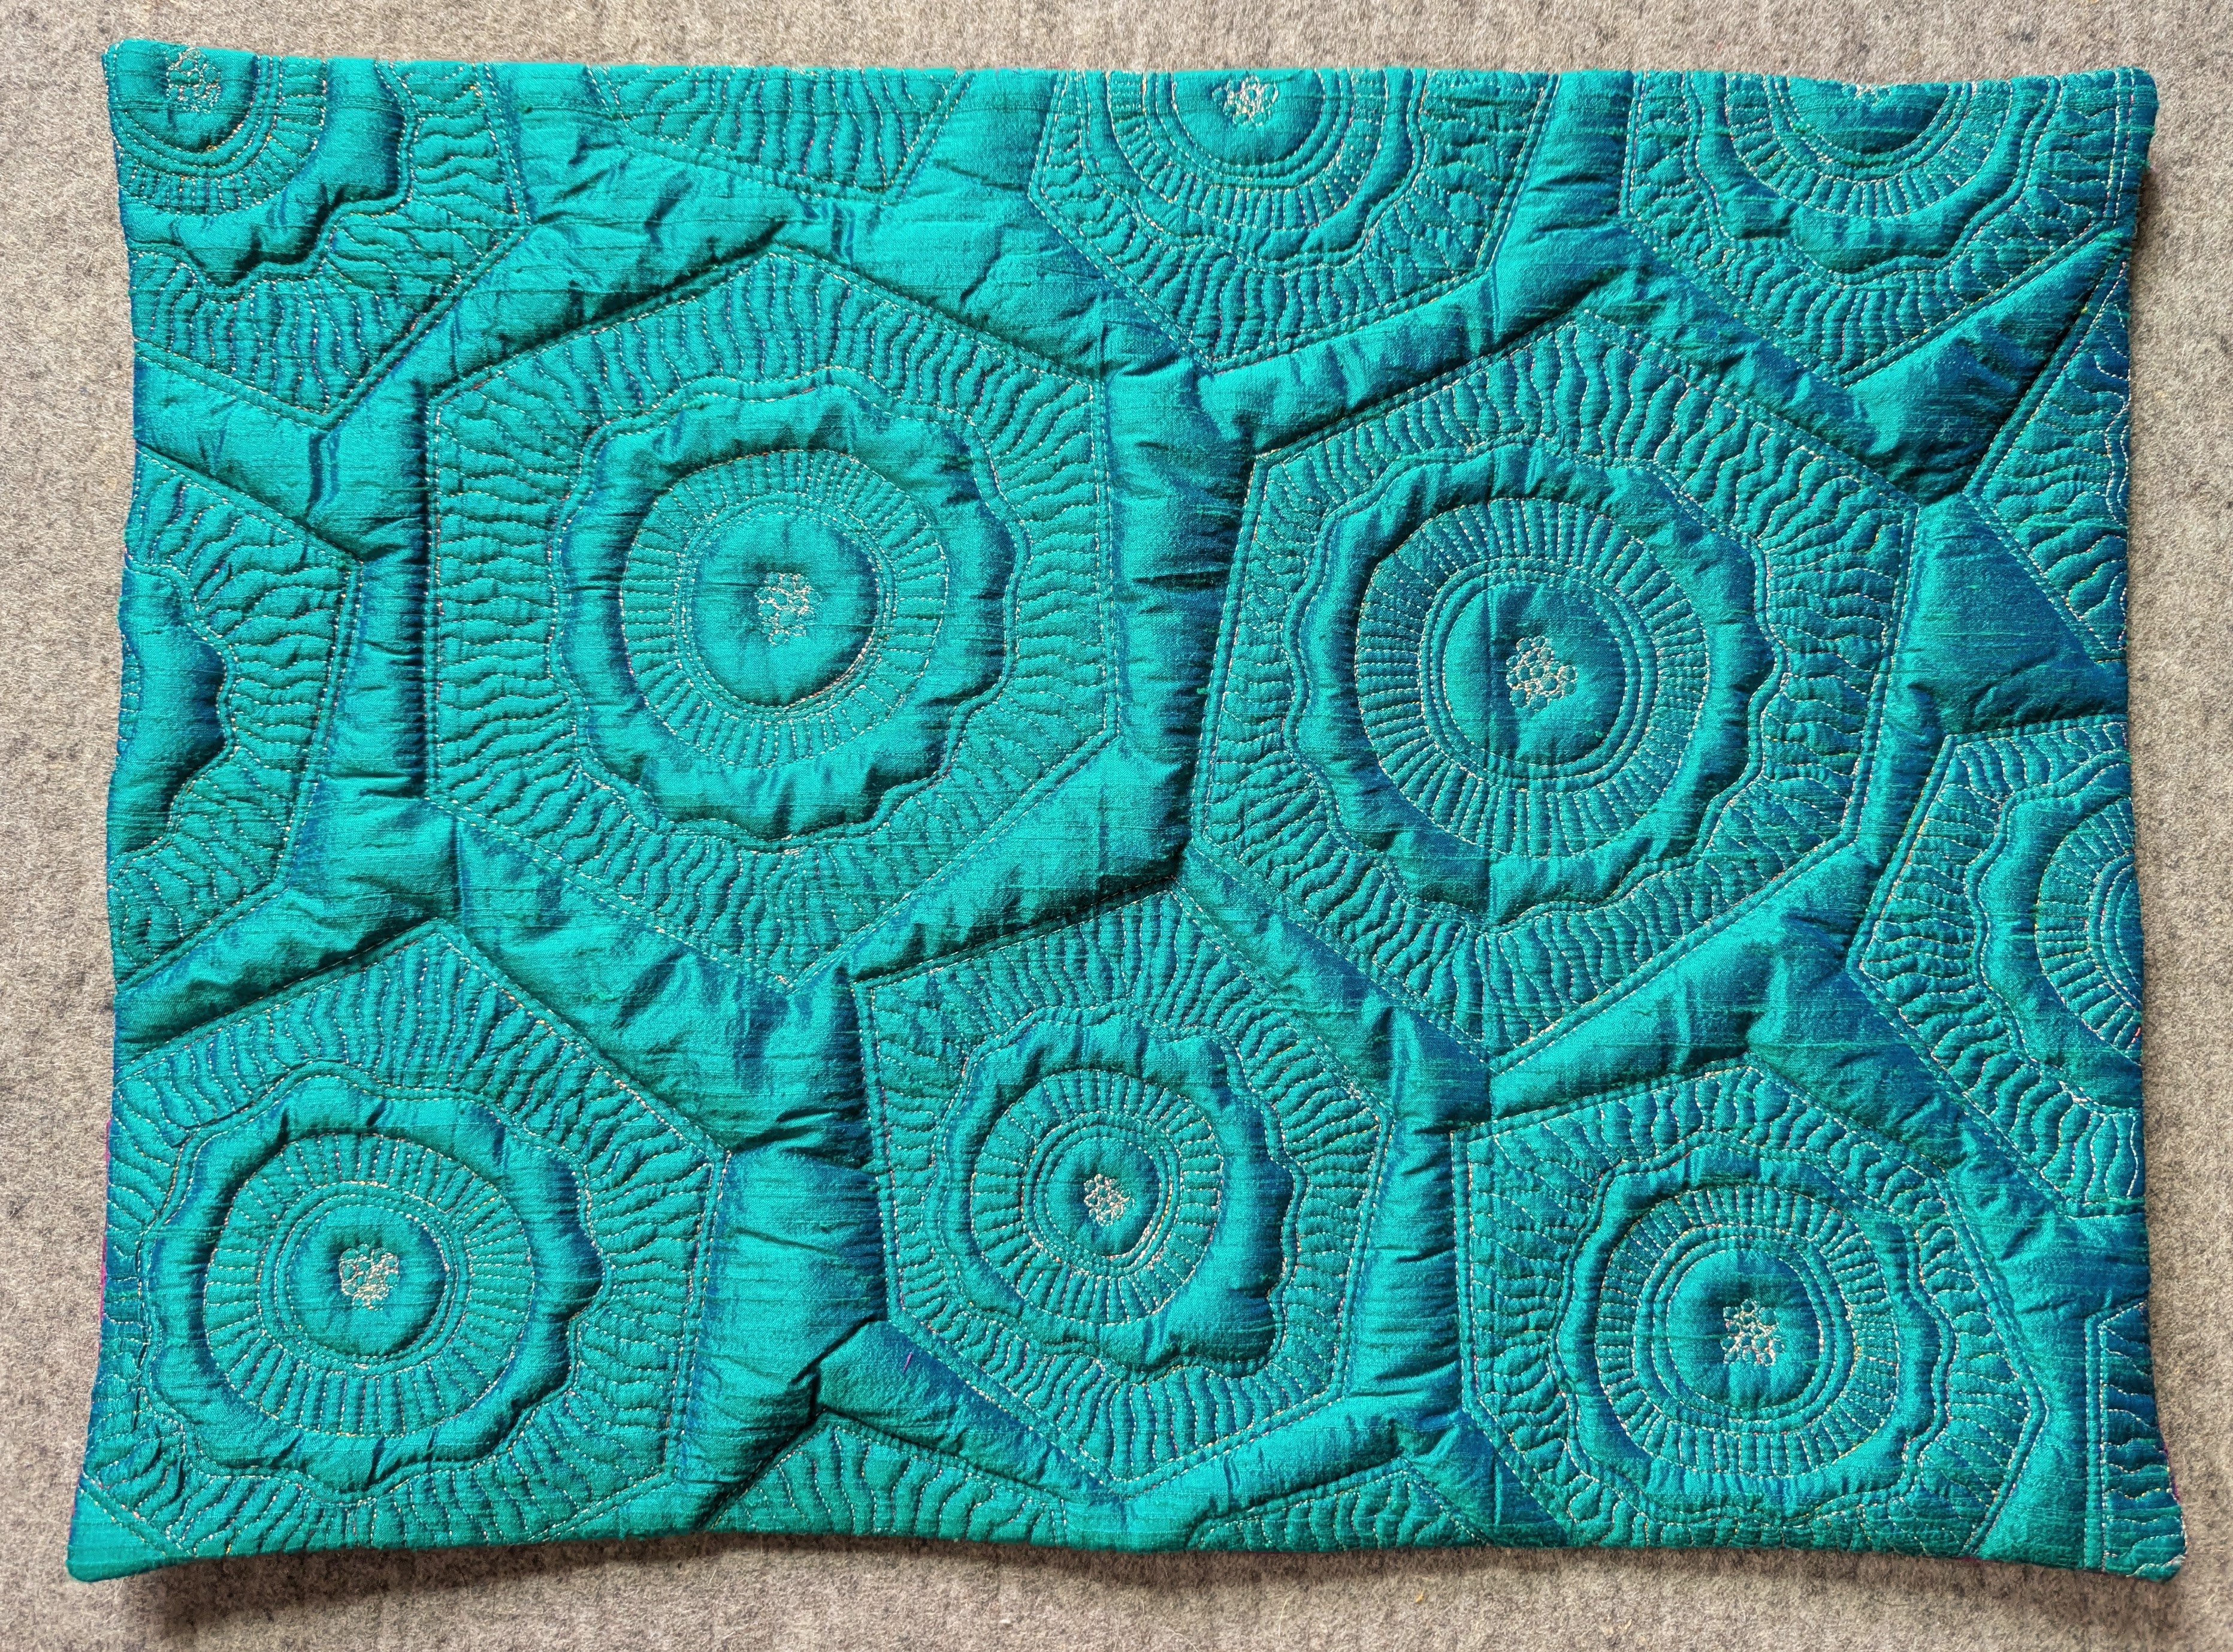
When I find some motifs that I really like, I begin practicing them with actual fabric. Sometimes I want to see how a single overall design motif would work, so I find a decent sized piece of scrap fabric, make a little quilt sandwich, and go to town. In the example below, I chose to practice a motif that involved constantly stopping, cutting thread, starting, stopping, cutting thread, etc. This is not how most free-motion quilting designs work, but I am intentionally trying to come up with completely original designs which means thinking outside of the standard FMQ parameters.
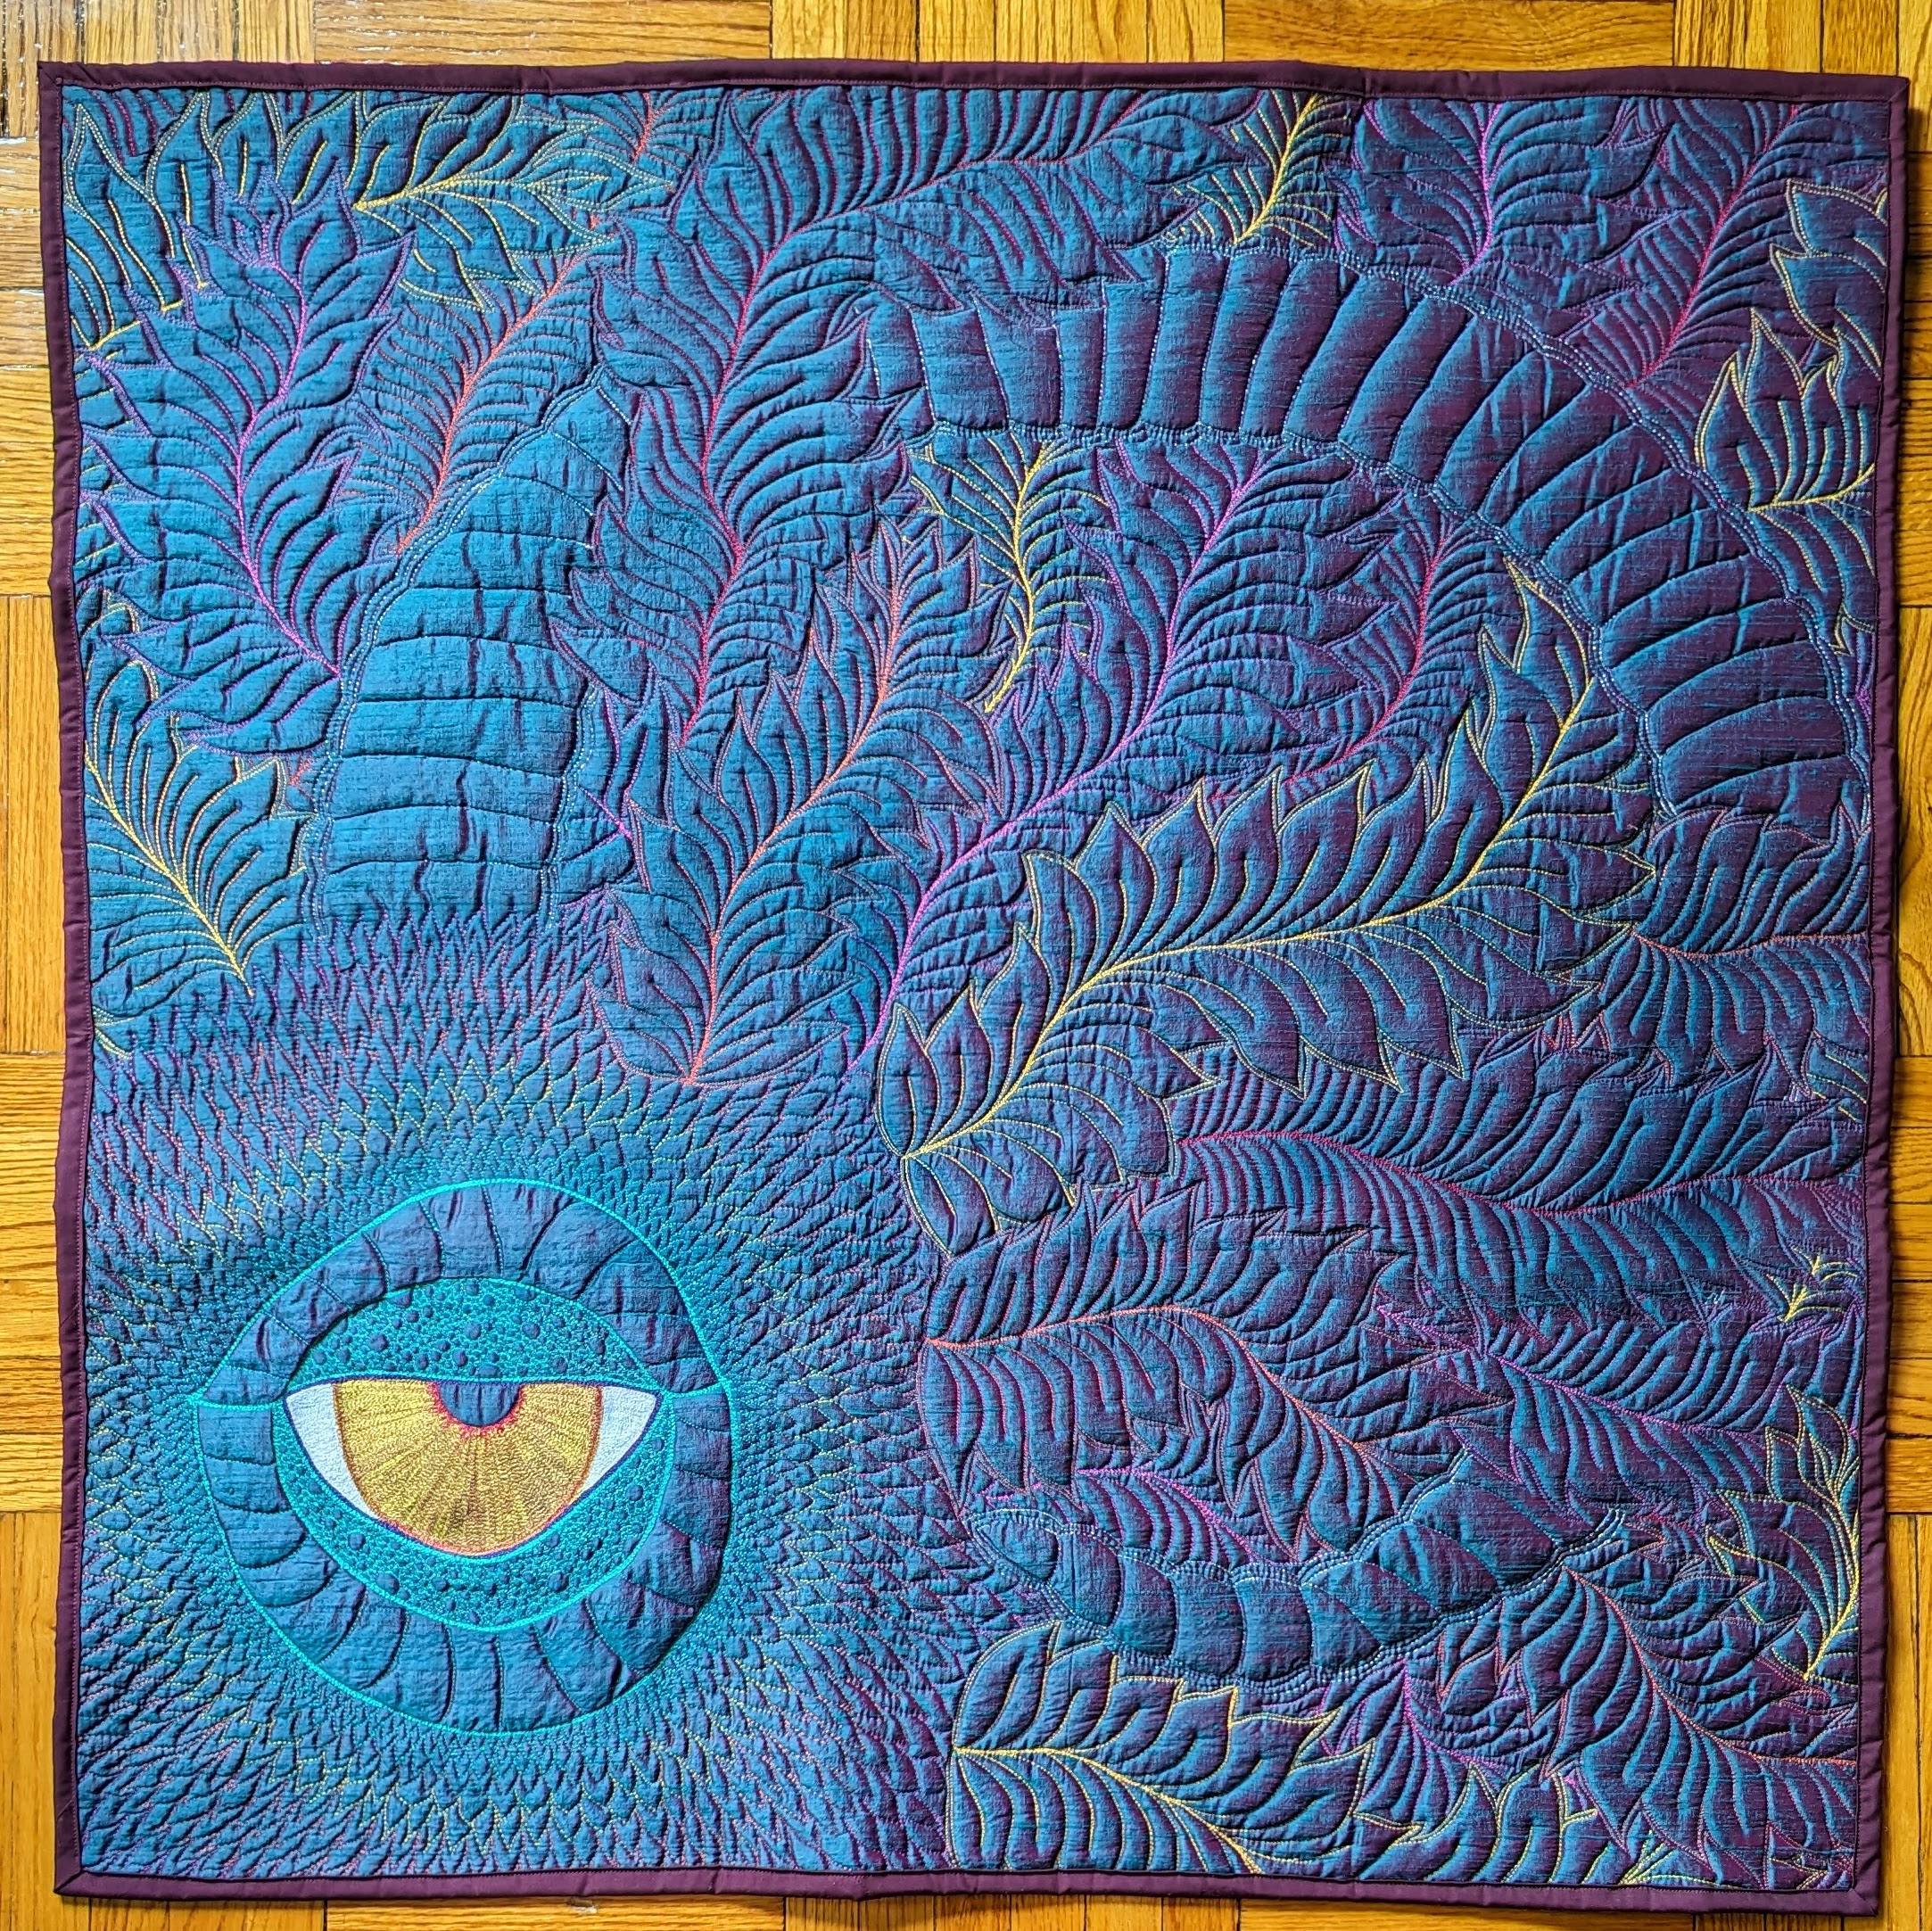
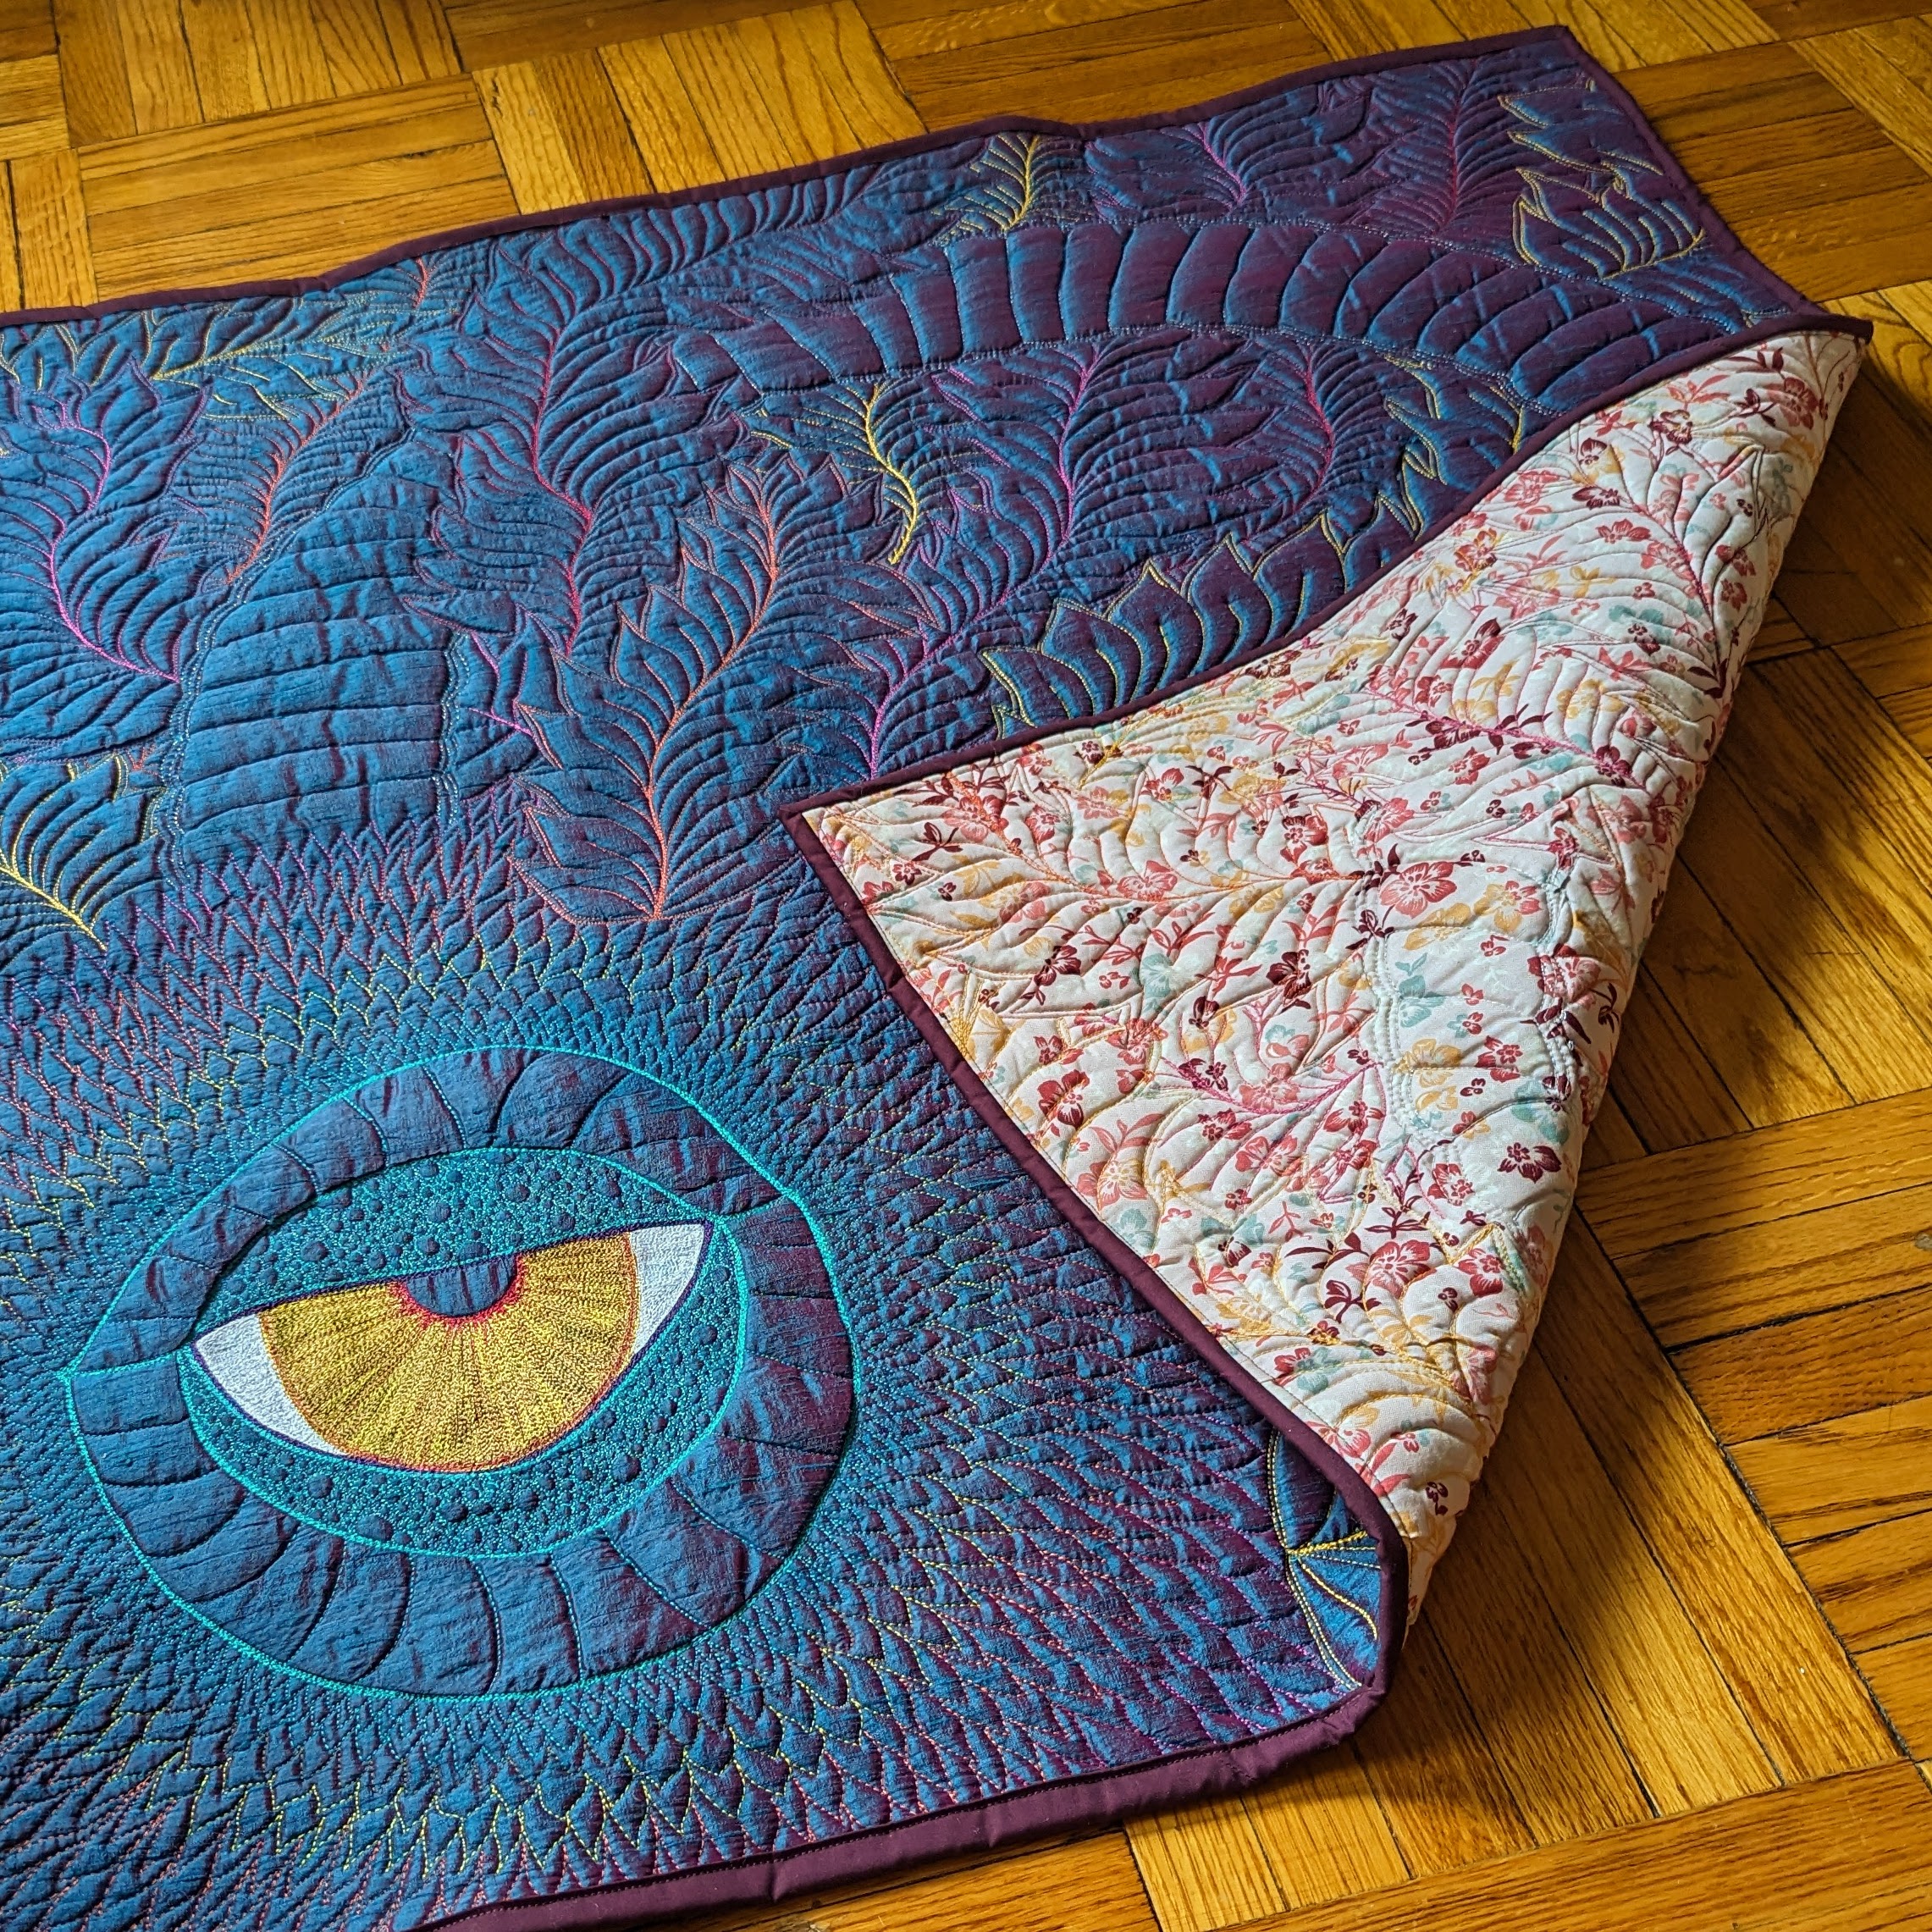
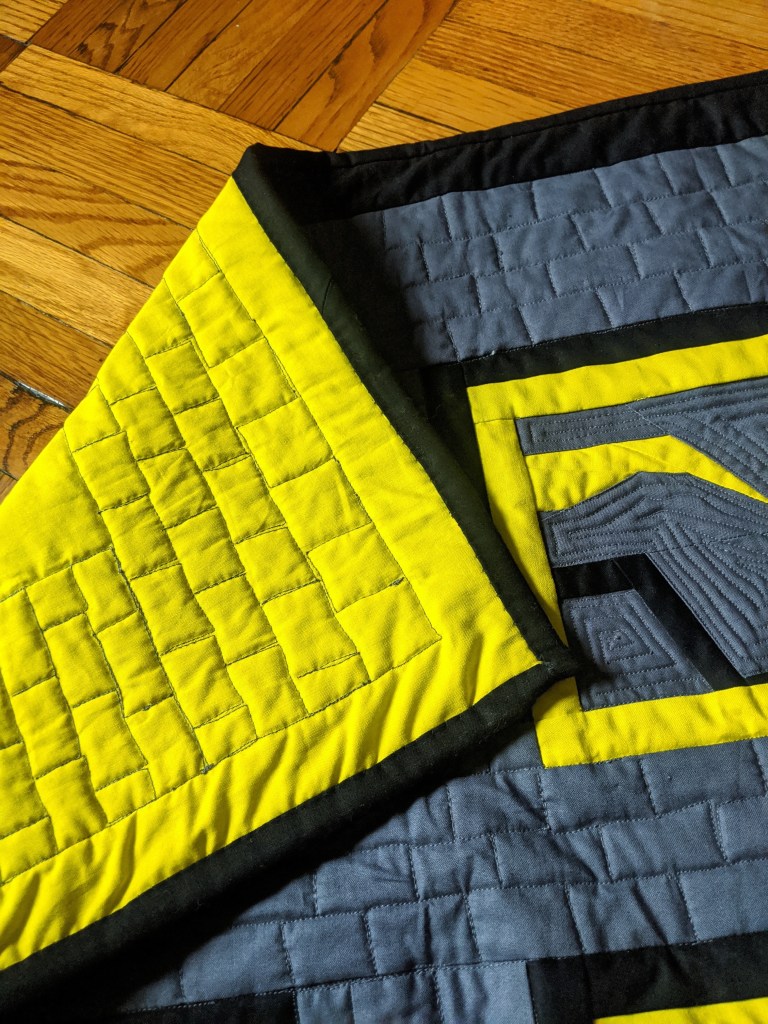
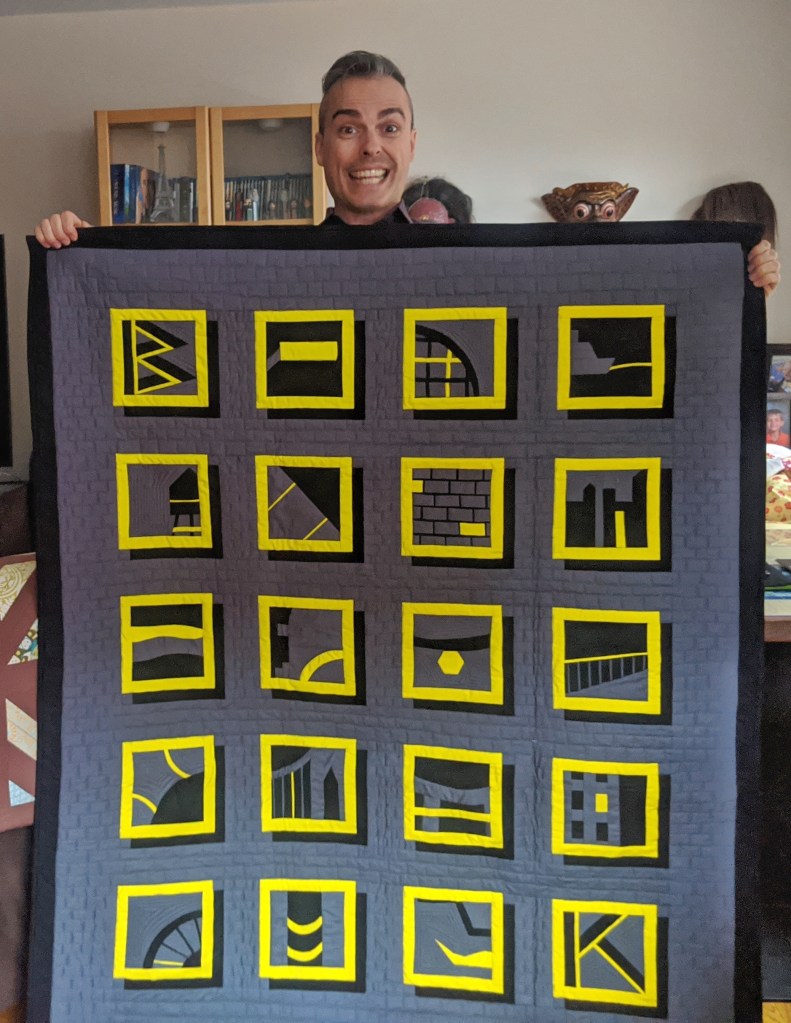
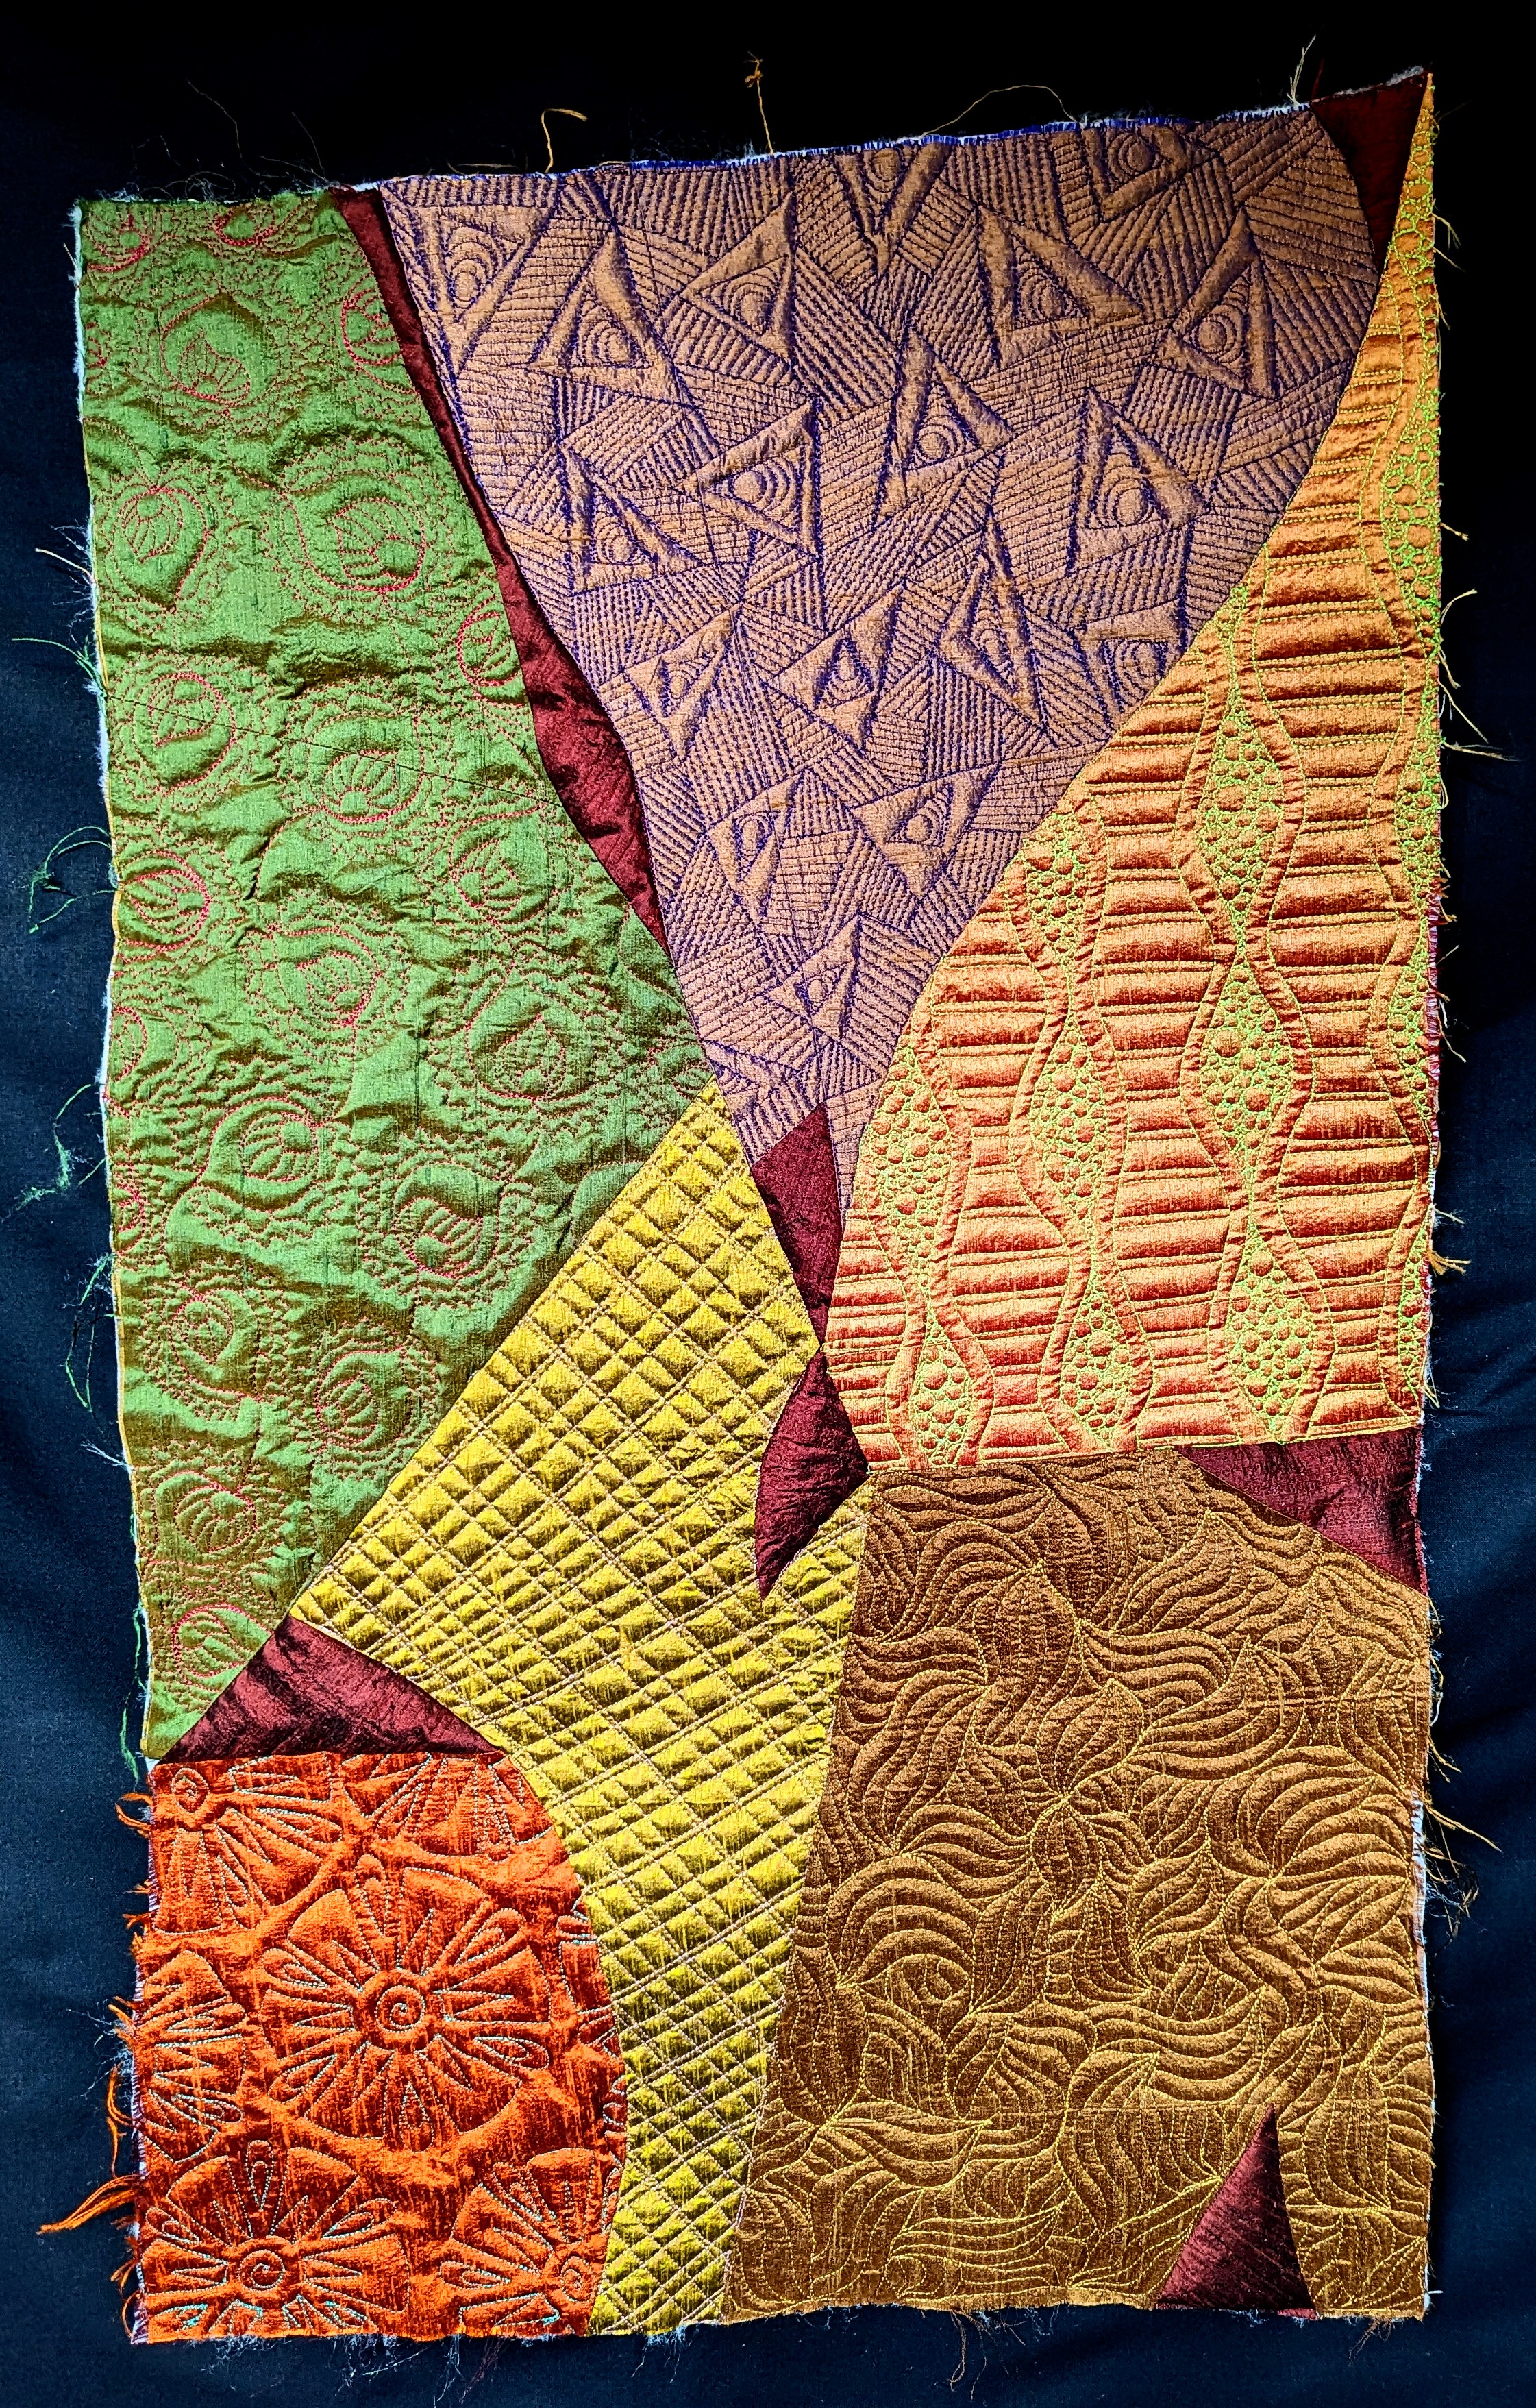
I’m also trying to be more intentional about my improv piecing, which again involves sketching first and then trying to make those sketches come to life with fabric and thread. The example below is the first of what I hope to make into a series called Patterns. I would ultimately like to create a library of these quilts from which I can draw FMQ motif inspiration for future projects.
And so my quilting journey continues. When I made my first quilt in 2017, I really didn’t see myself as a visual artist. I’m quite surprised at where this creative path is taking me, and I’m looking forward to whatever the future holds in store.