If you’ve read some of my past posts you already know how much I love free-motion quilting (FMQ). I find it not only visually stimulating but also completely freeing when I sit down at my sewing machine to finally stitch all of the layers of my quilt together. I pretty much FMQ all of my quilts these days with rare exceptions, and I love whenever I have the opportunity to FMQ a mini quilt because I’m able to quilt more meticulous designs without taking hours to finish like it would take on a larger quilt.
Continuing the trend that the co-presidents began in 2018, the Brooklyn Quilters Guild will have a President’s Challenge for our upcoming biennial quilt show in March of 2020. The prompt is a quote by Maya Angelou.
“Try to be a rainbow in someone’s cloud.”
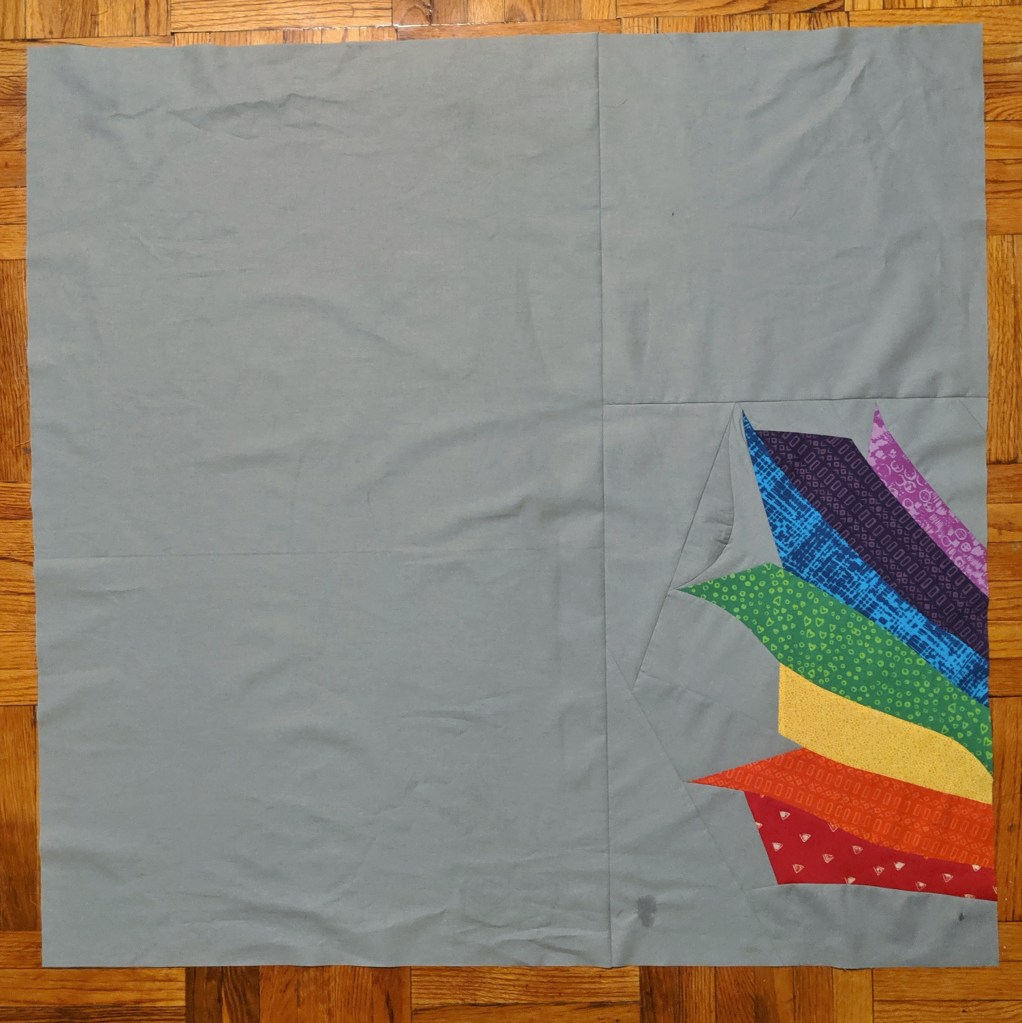
The quilts must measure 36″ x 36″ and incorporate six to seven of the colors of the rainbow in some way. Otherwise, they can be any style, pattern, etc. I decided to take this as an opportunity to go a little crazy with my FMQ by creating a quilt top that is mostly negative space which can be brimming with free-motion quilting.

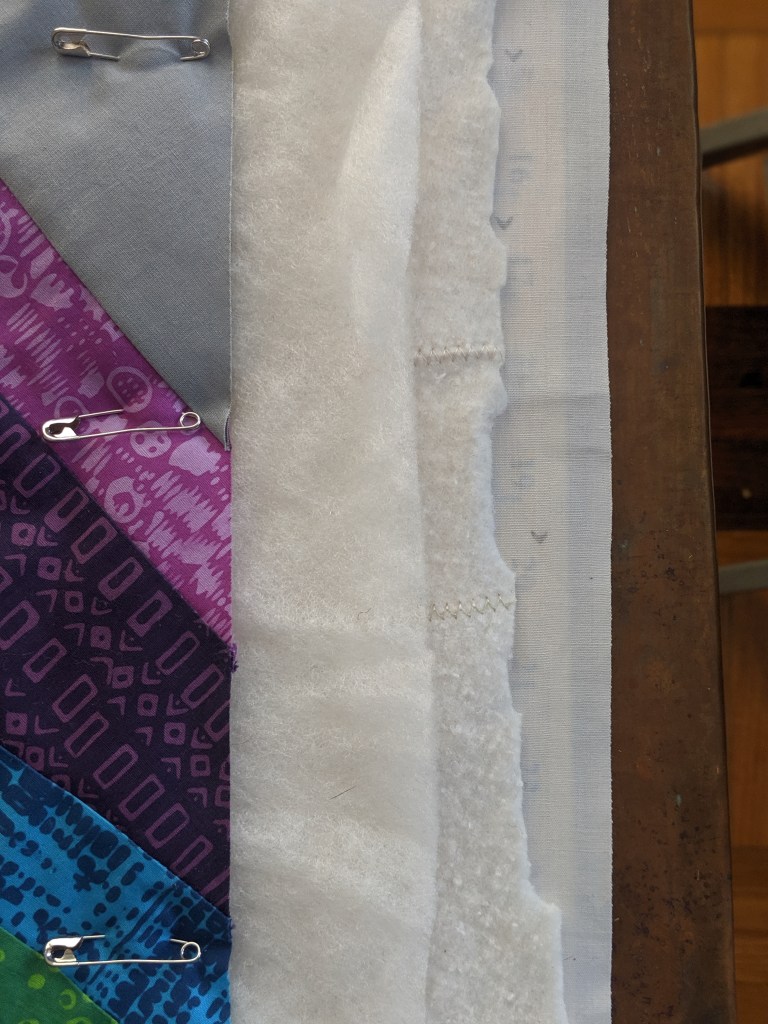
The pieced portion of the quilt is quite small, so this is almost a whole-cloth quilt. Some of the quilters I follow suggest using a double layer of batting for whole-cloth quilts or any quilt where you want the quilting design to really pop. The general suggestion is a layer of 80/20 cotton batting and a layer of wool batting, so I’m going to give it a shot.
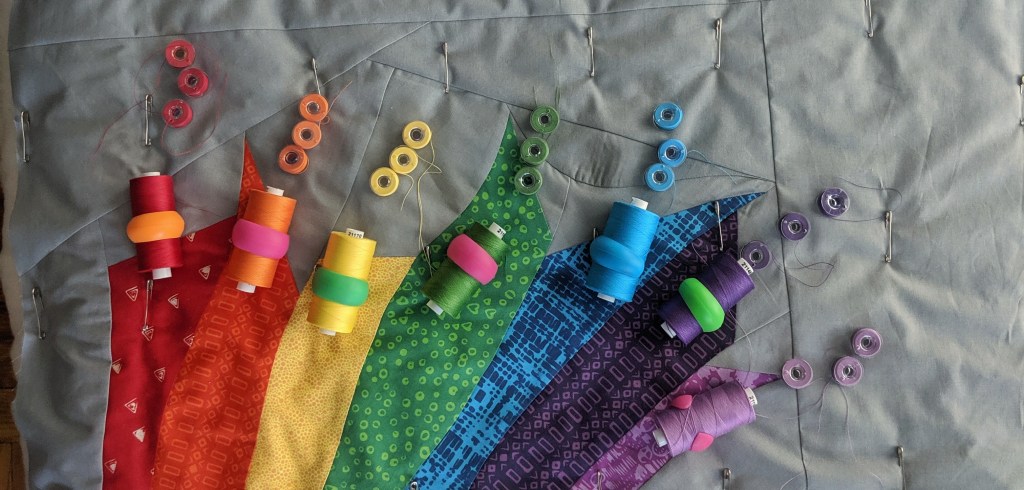
Once I pin baste my quilt sandwich, I start thinking about the thread color(s) I want to use. I’ve decided to extend the pieced design onto the negative space of the quilt, so I’ve picked thread colors that match each of the pieced stripes.
Before I start quilting any project, I like to plan out my quilting designs. I get out my sketchbook and start doodling. Not only does this help me clarify some ideas before putting thread to fabric, but it also starts getting those designs into my muscle memory.

Once I’m ready to actually start quilting, I set my machine up by installing my FMQ presser foot and bobbin case, lowering the feed dogs of my sewing machine, and placing a Supreme Slider mat over my needle plate. I want as little friction as possible when I’m sliding my quilt under the needle, and the Supreme Slider really helps me with that.

I also always make a tiny quilt sandwich out of scraps of my actual quilt to test the tension before I ever start quilting on the real one. I’ve learned this lesson the hard way. ALWAYS TEST YOUR TENSION BEFORE STARTING ON YOUR REAL PROJECT!!!

And now I’m ready to start quilting. I can’t wait to see how this turns out! I’d love to hear any pointers you have to share when it comes to FMQ prep. Add them in the Comments section below so we can all benefit from each other’s experience. Happy crafting!!

Love your project. I think you hit all the major points about prepping for FMQ. The only things I would add is to clean the lint out of the bobbin space and maybe get a fresh needle into your machine.
I totally do both of those and forgot to mention them. Thank you for adding those necessary steps!!
I do the tension test on the edge of the quilt sandwich… there is always a slightly wider section of batting and backing poking out so I just add some extra “top” fabric and away I go. No extra prep so no excuse not to do it.
That’s a great idea! Thanks for the tip!